Garlic Knots
I spent the majority of my weekend in front of a biochemistry book. And let me tell you, it was thrilling.
I could go into the details of the citrate cycle or the purpose of phosphofructokinase-1 or the effects of oligomycin on the electron transport chain, but I think it's too exciting to share here.
I also did a substantial amount of nail painting and played guitar like Carlos Santana (in my mind).
As you can tell, I reallllly went crazy this weekend.
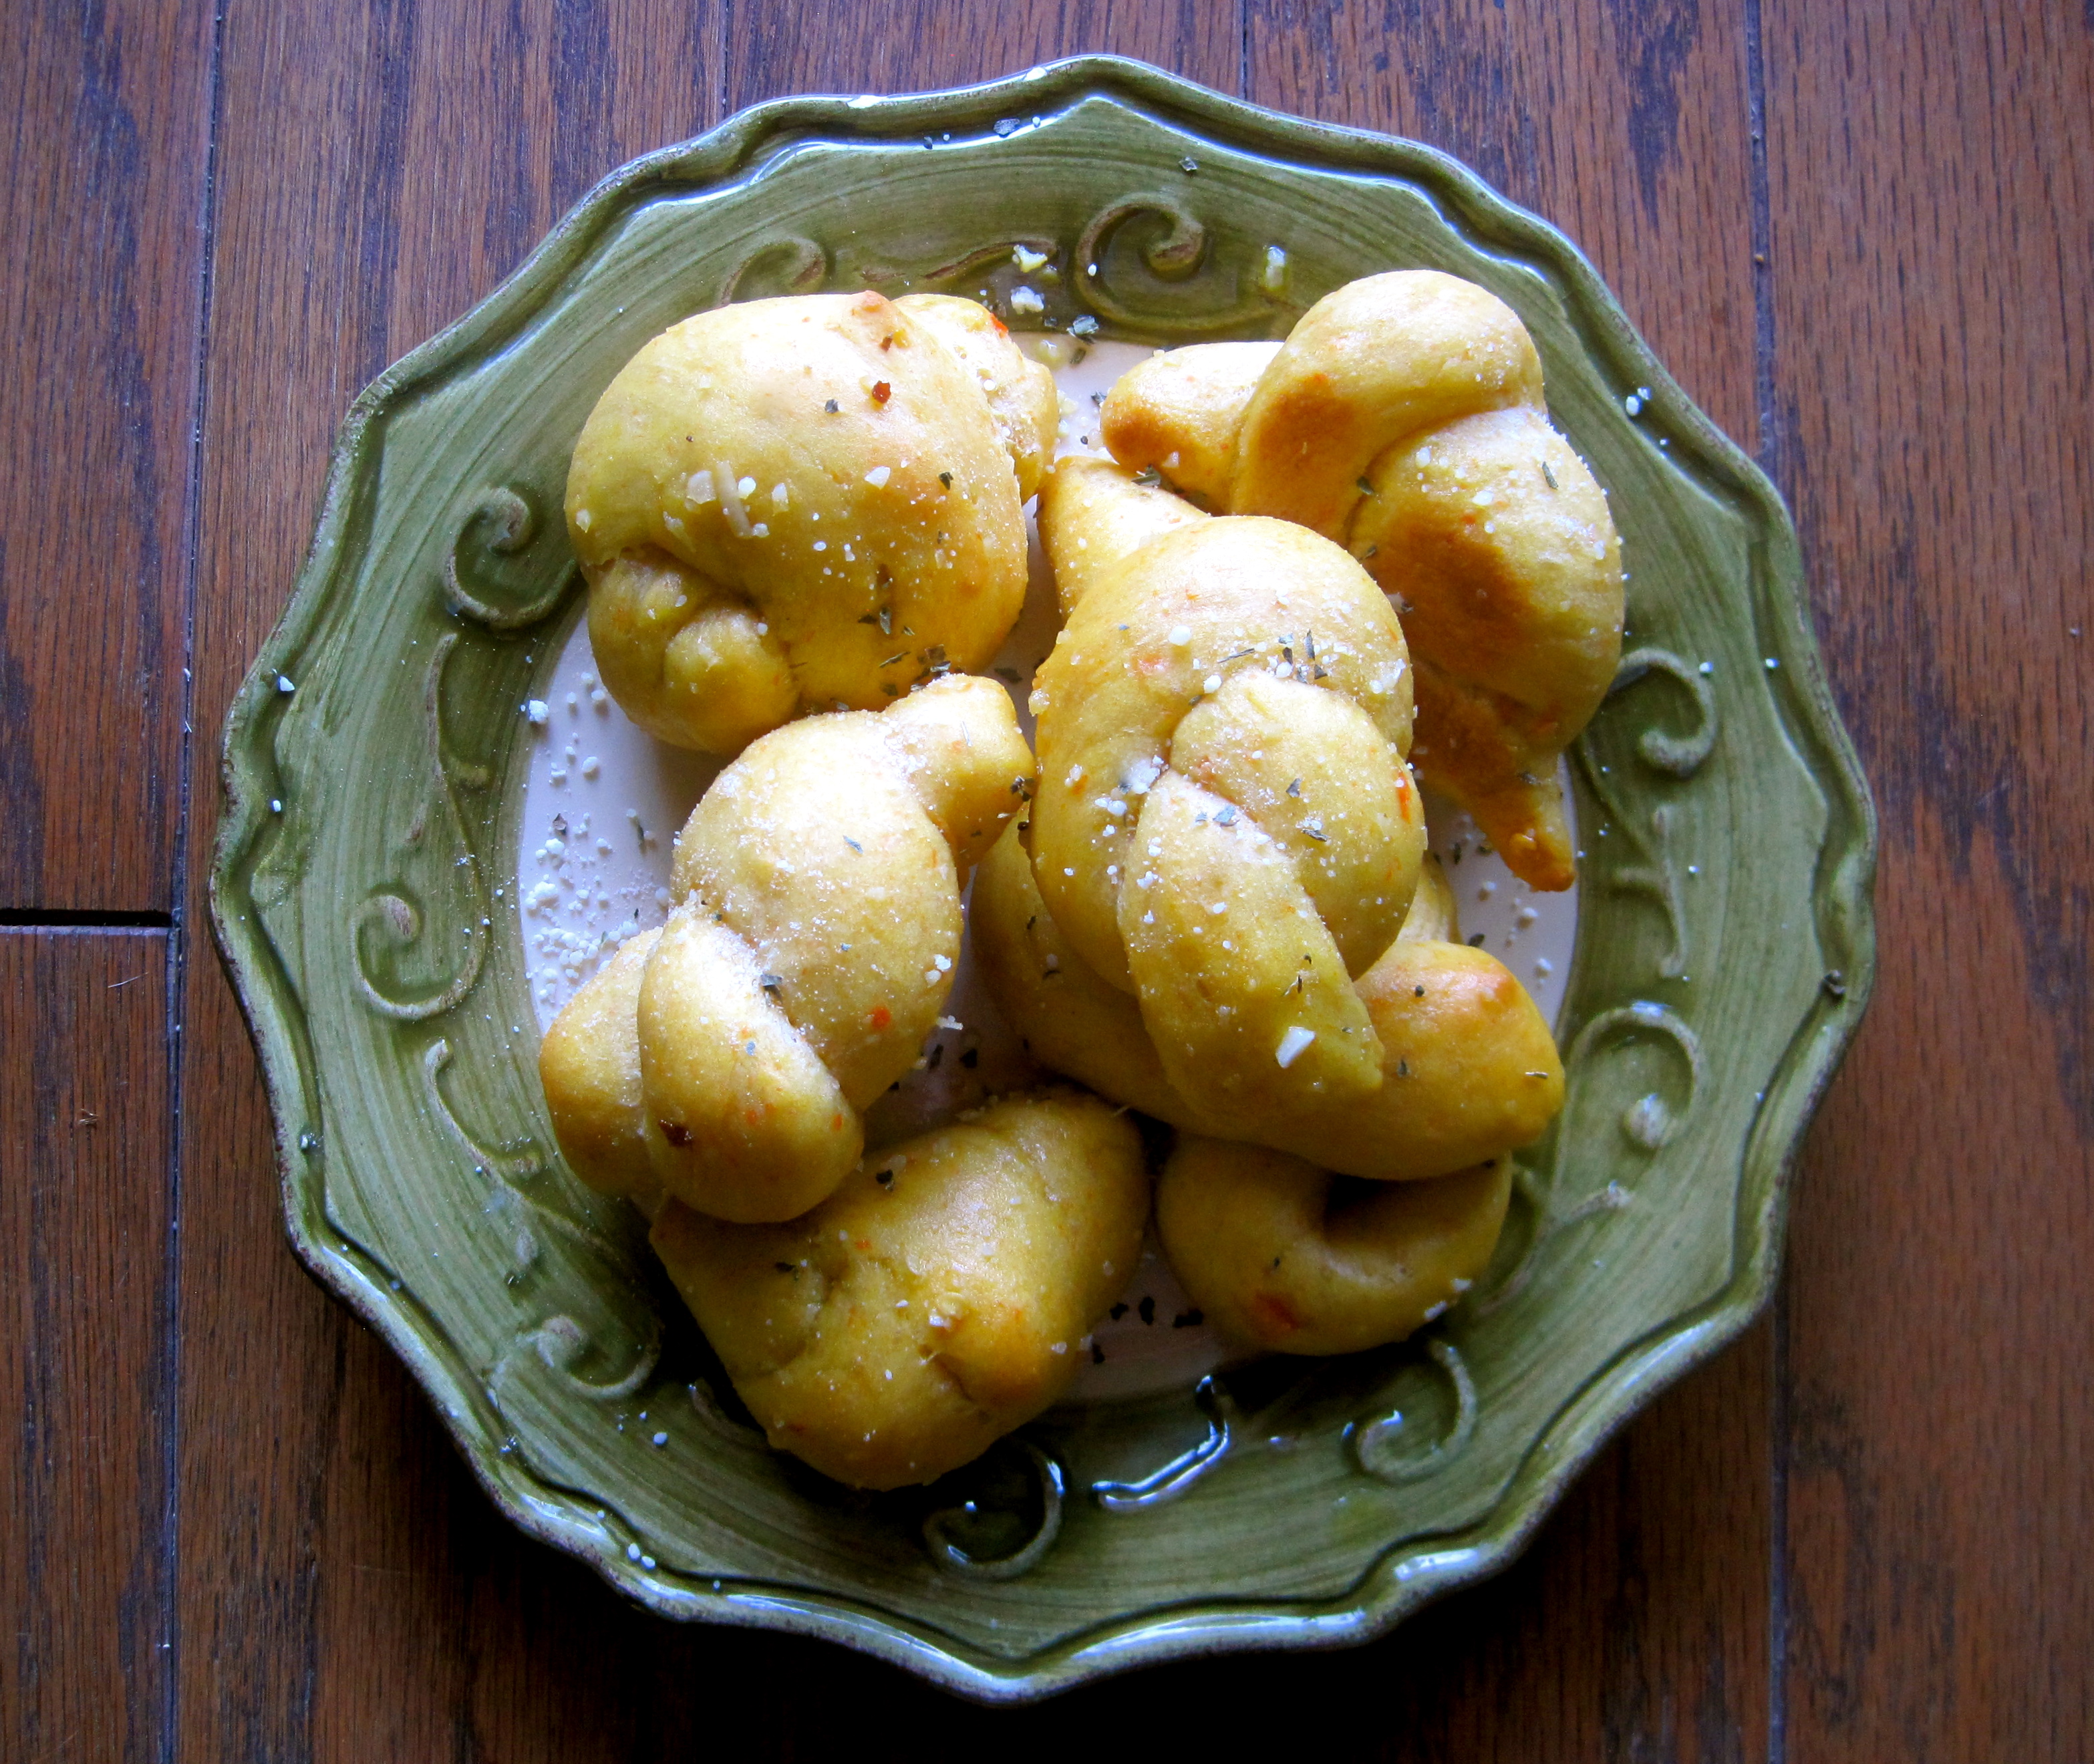
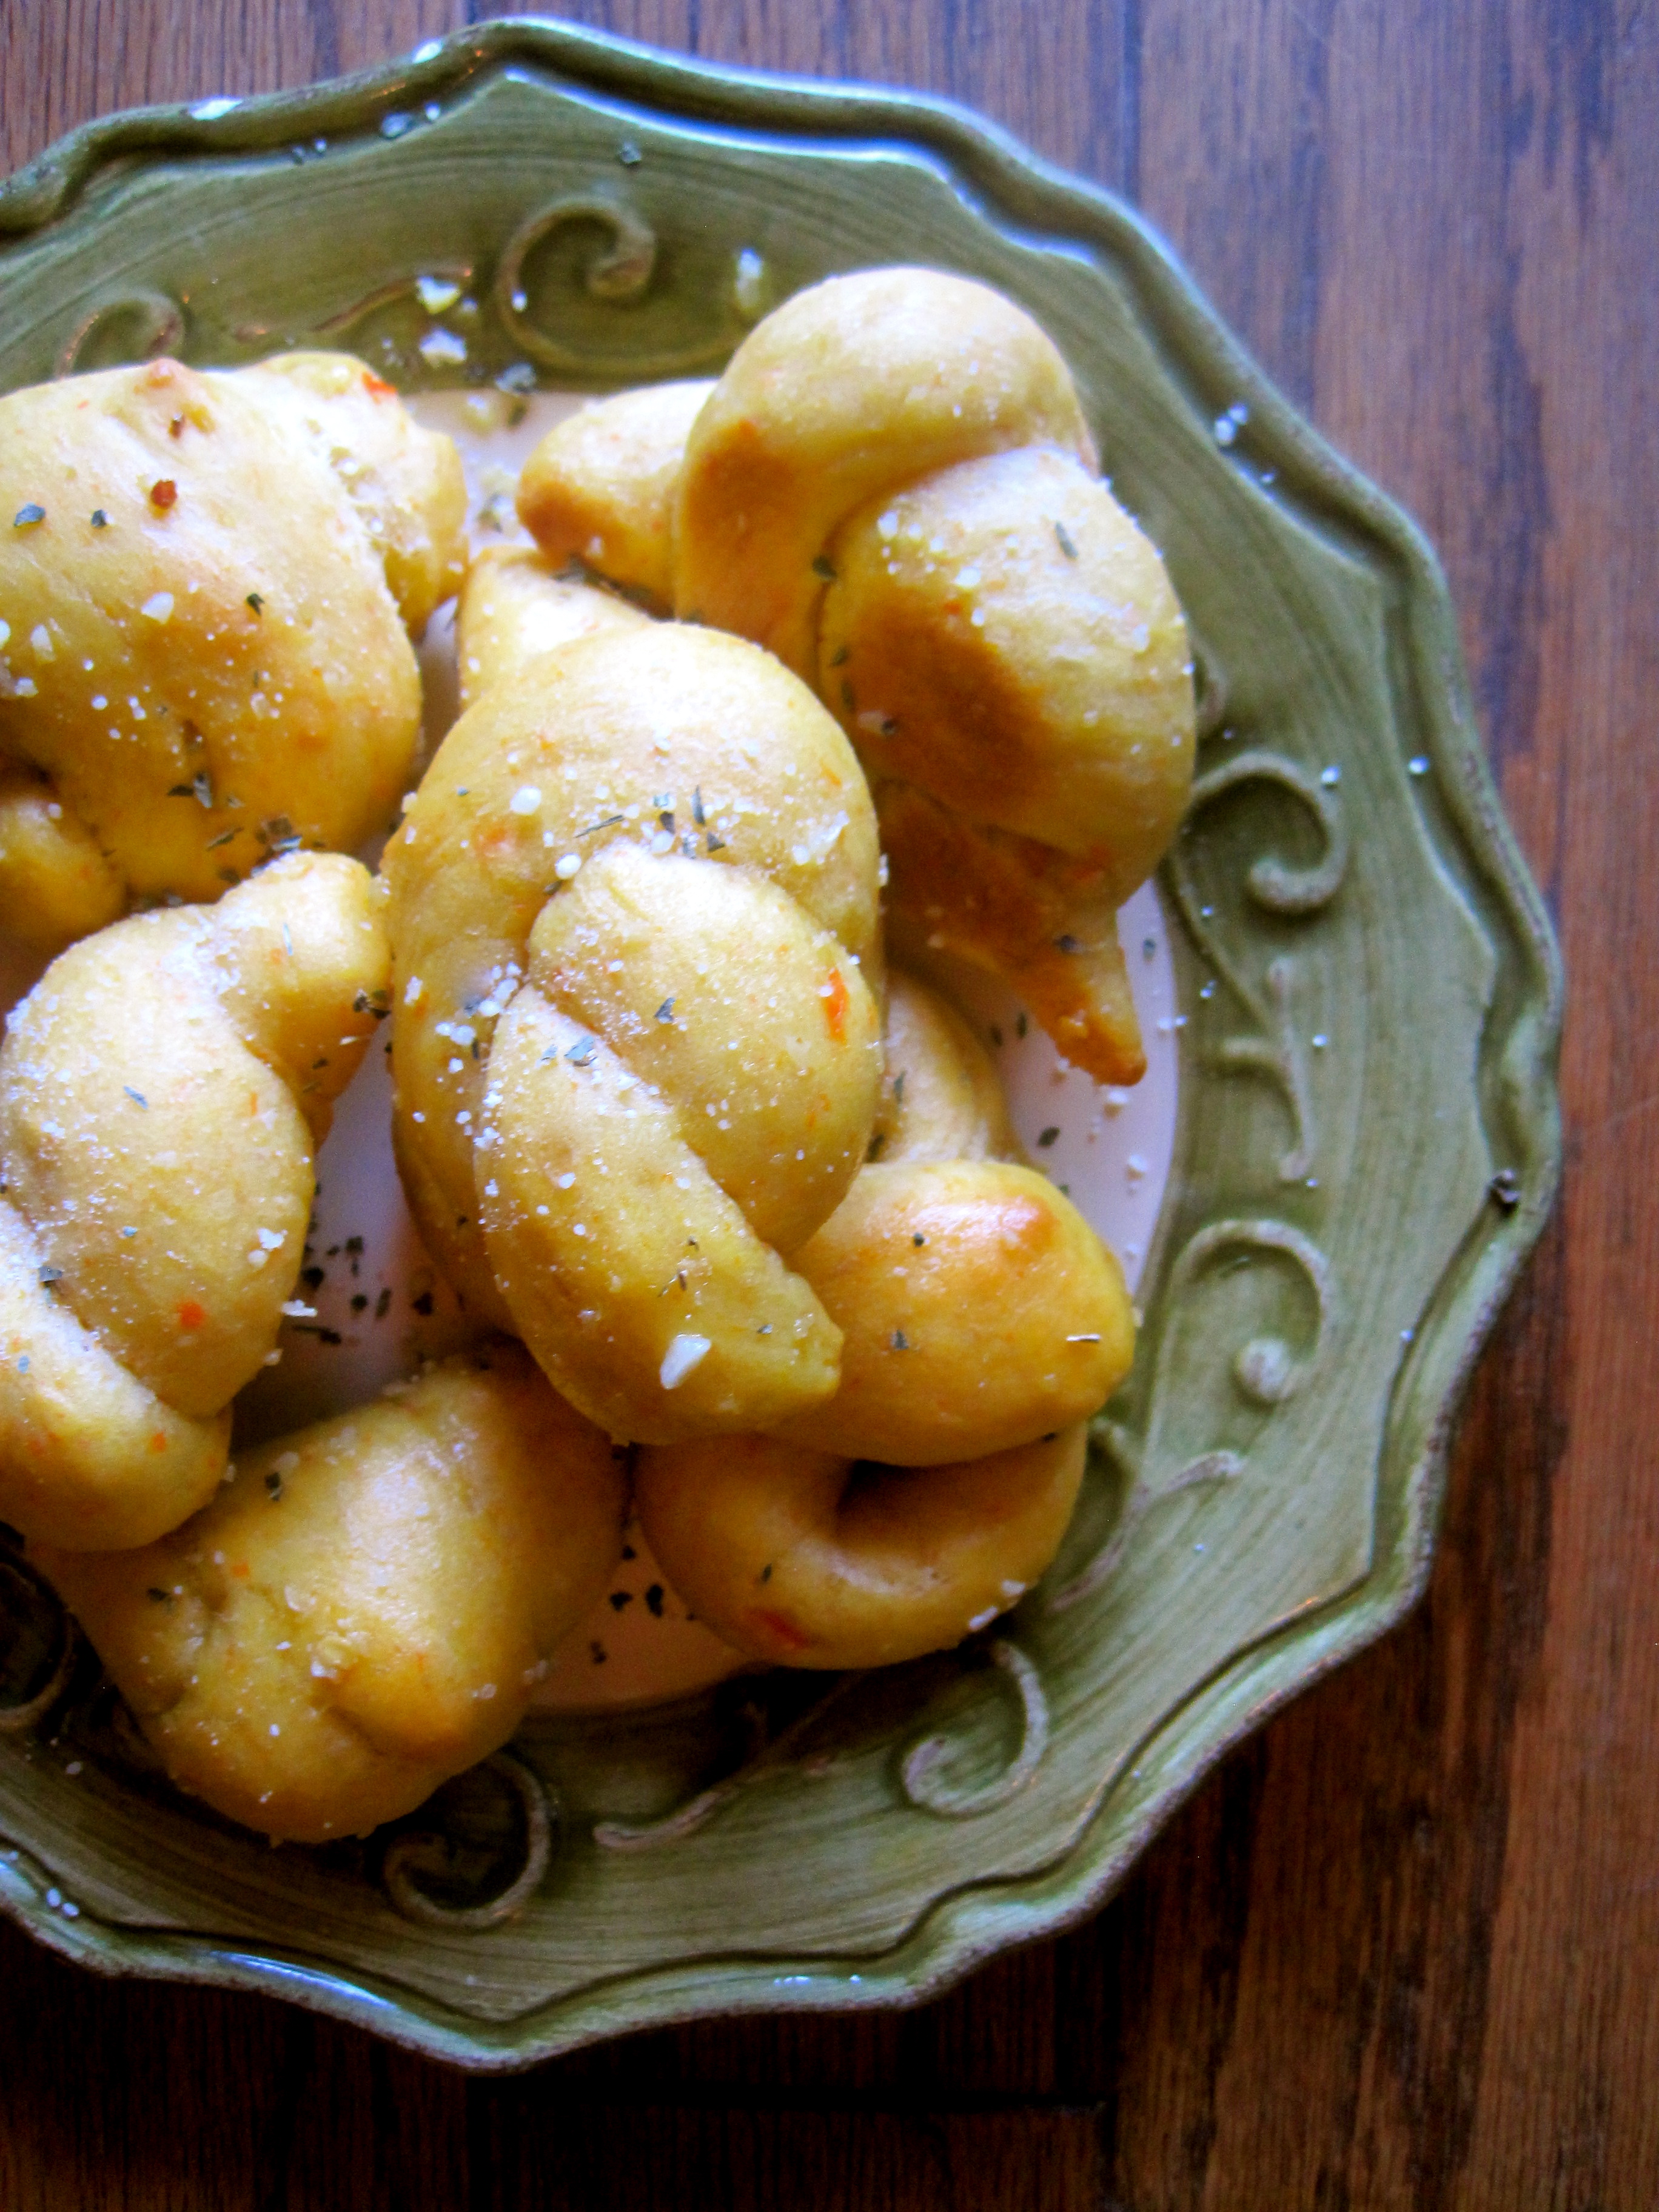
I think what would have blown this weekend off the charts of awesomeness - as if 47.2 hours of biochemistry didn't already do it - would be to eat these garlic knots.
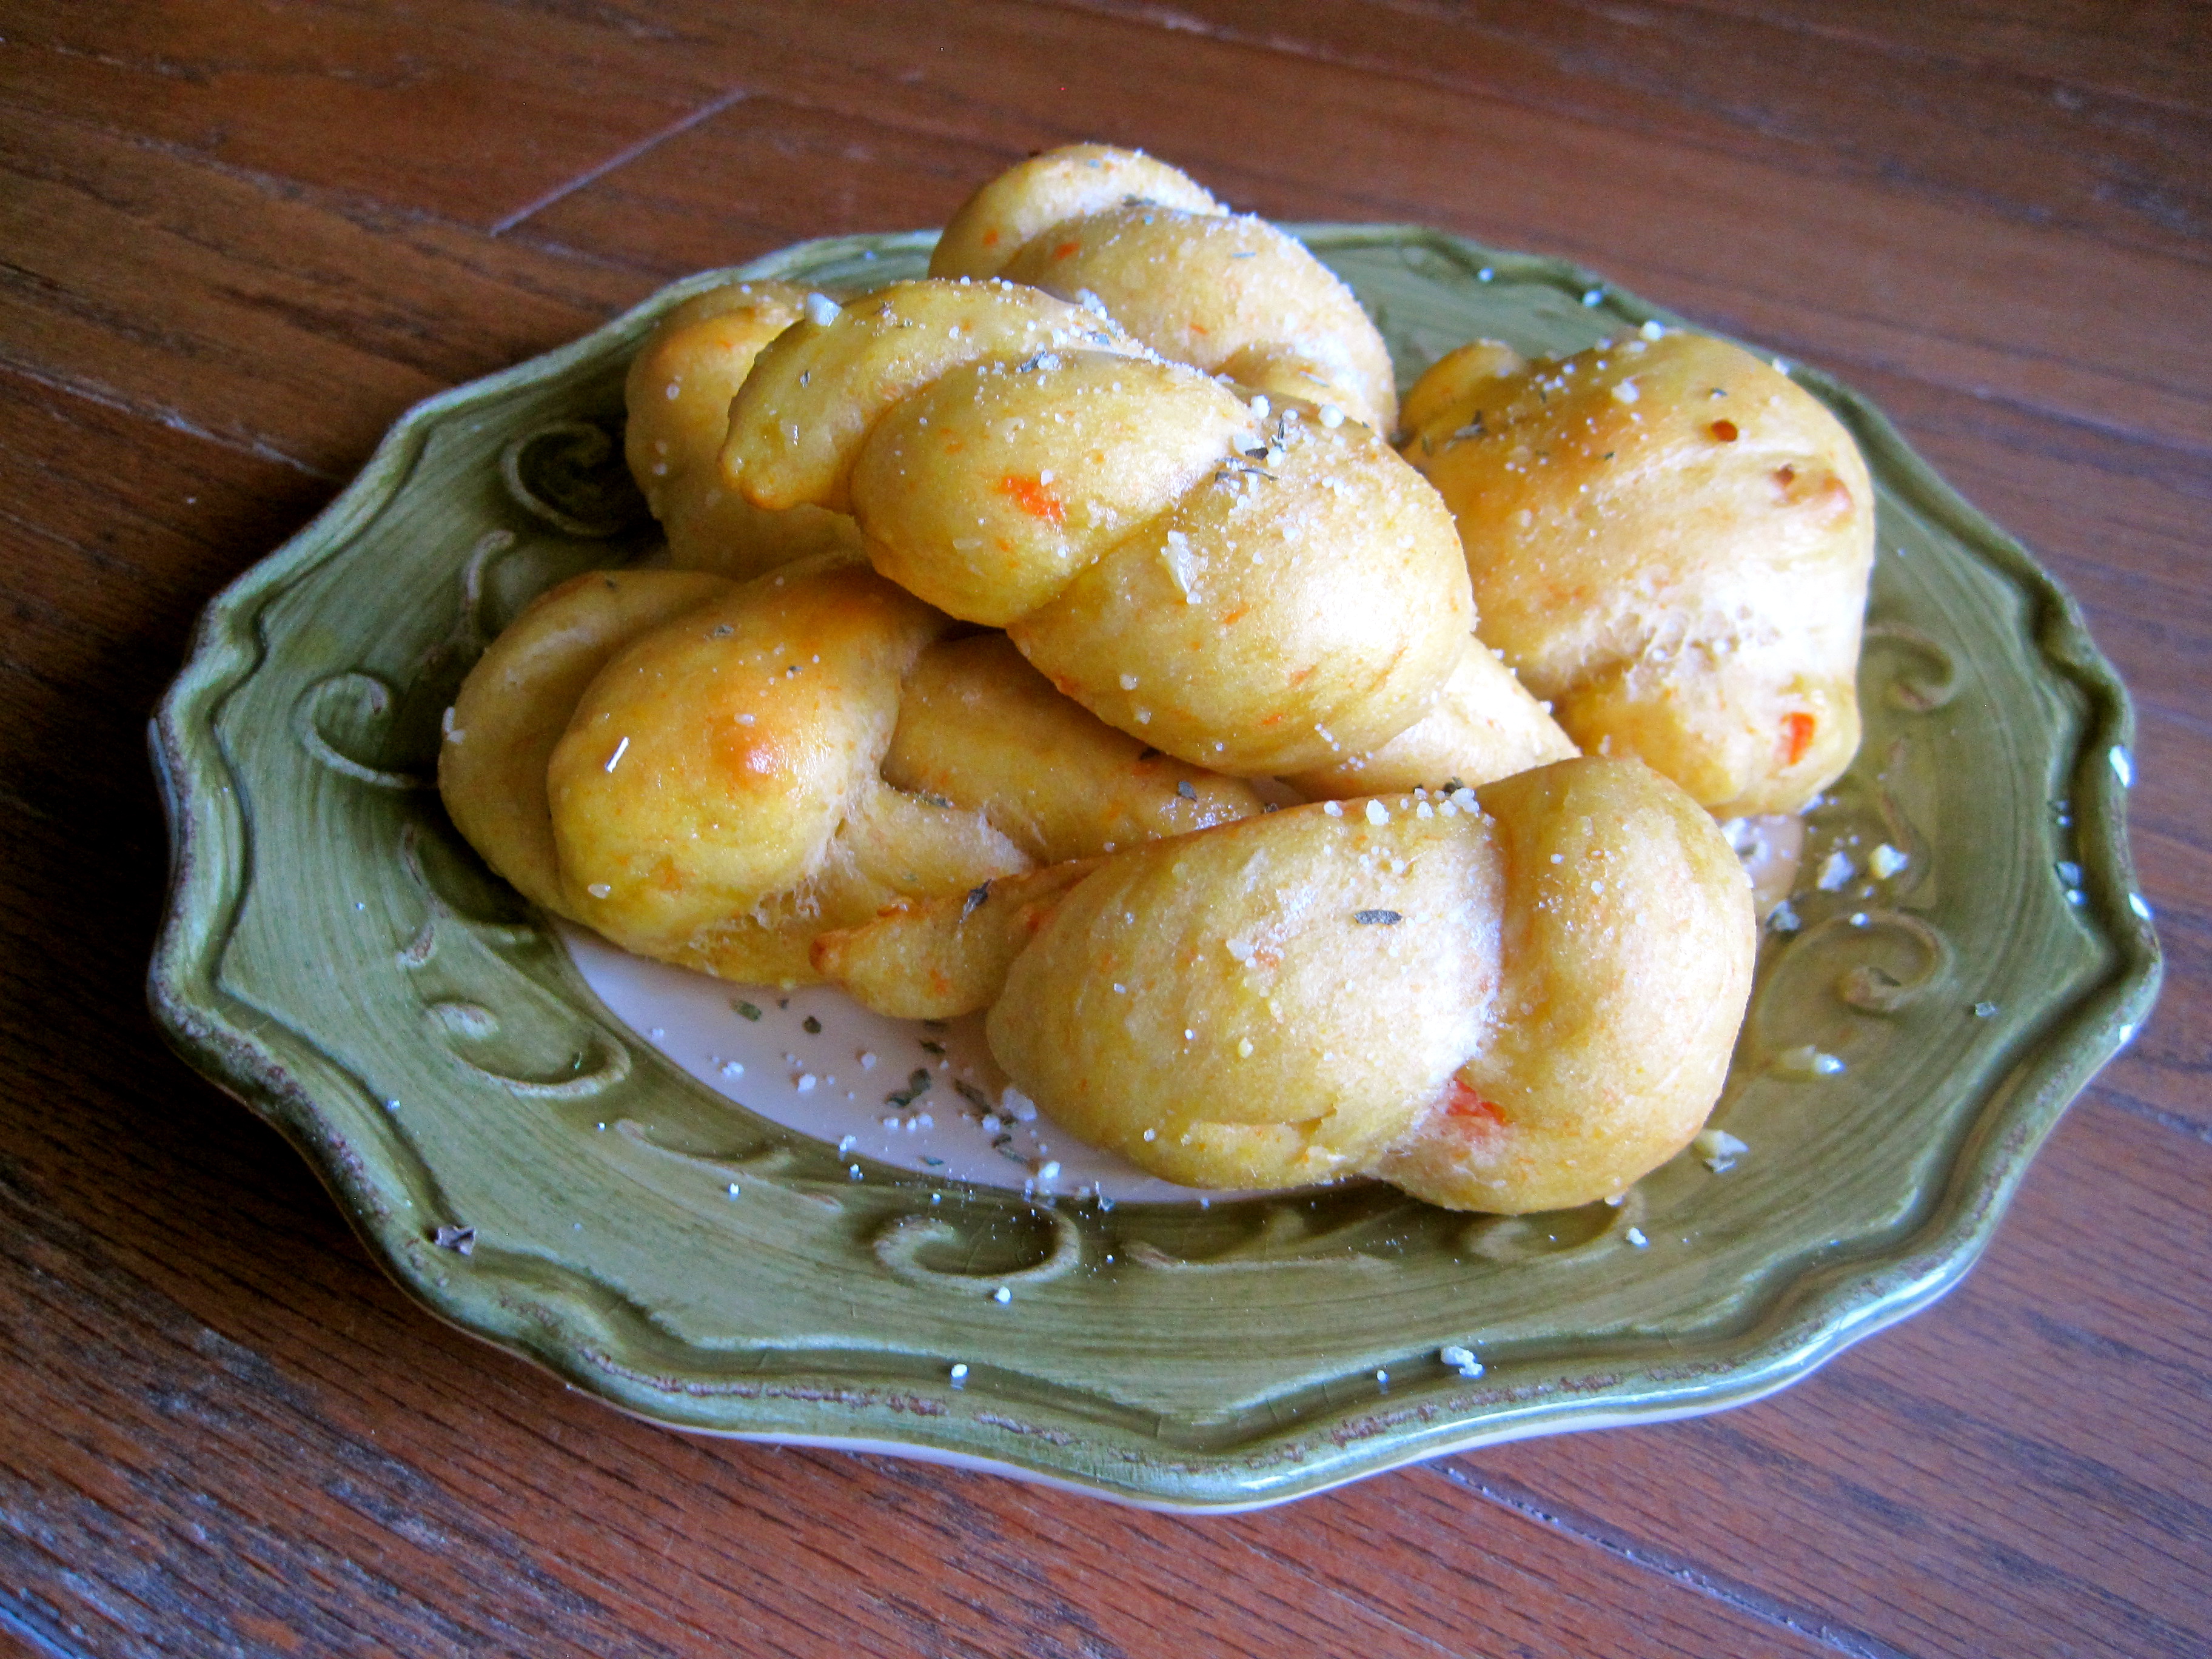
They are a party in your kitchen and will most certainly become a favorite. Unless you don't like awesomeness. In that case, you may want to leave now.

Garlic Knots
These are soooo delicious and I'd even say better than I have ever had at a restaurant. There is a bit of time involved in making them, but it is so easy that you most certainly won't be disappointed.
The secret ingredient - PUMPKIN! - is perfect for fall and contributes a gorgeous orange color to the knots. Don't be worried if you don't like the flavor of pumpkin, you really can't taste it.
Ingredients
Knots
- 1 cup warm water
- 1 envelope (2-1/4 teaspoons) active dry yeast
- 2 tablespoon agave nectar
- 1/2 cup canned pumpkin -- or any of smooth puree, sweet potato, carrot, etc.
- 2 tablespoons olive oil
- 1-1/2 teaspoons coarse kosher salt
- 3-1/2 cups unbleached bread flour
Garlicy Goodness
- 1/3 cup olive oil
- 3-5 cloves of garlic, minced
- salt and pepper, to taste
- Parmesan cheese or nutritional yeast, to taste (if vegan, use nutritional yeast)
Method
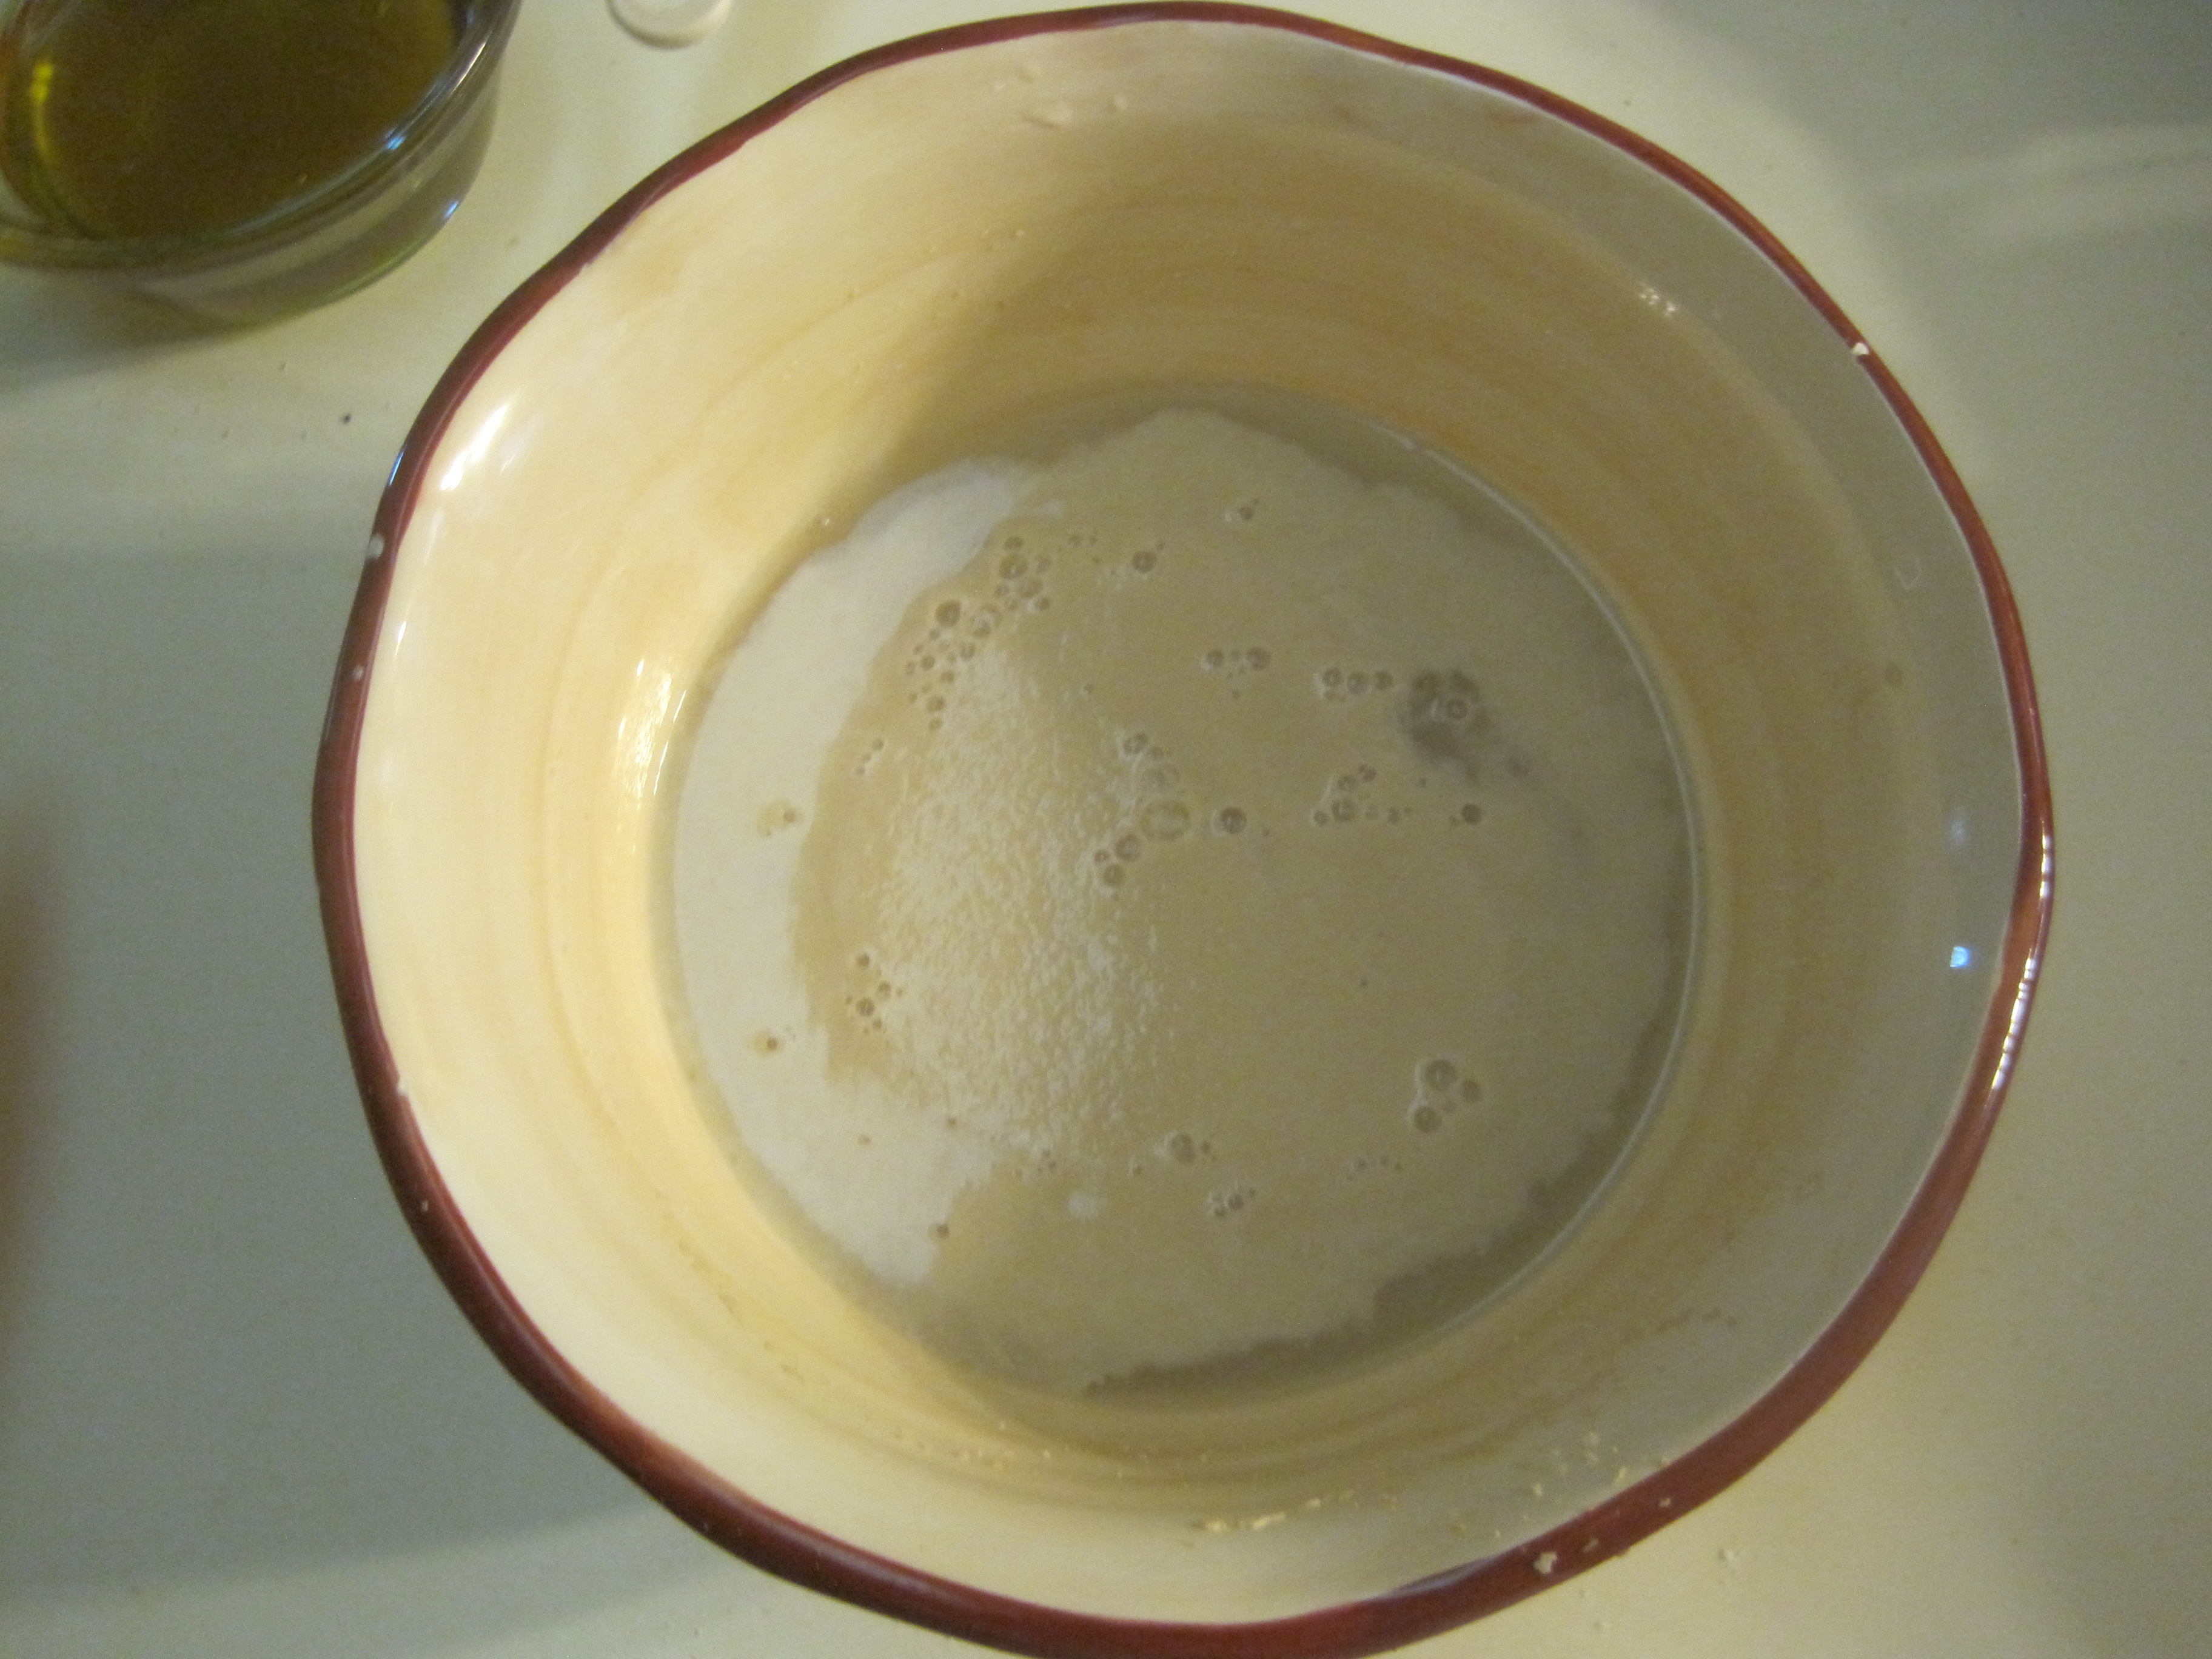
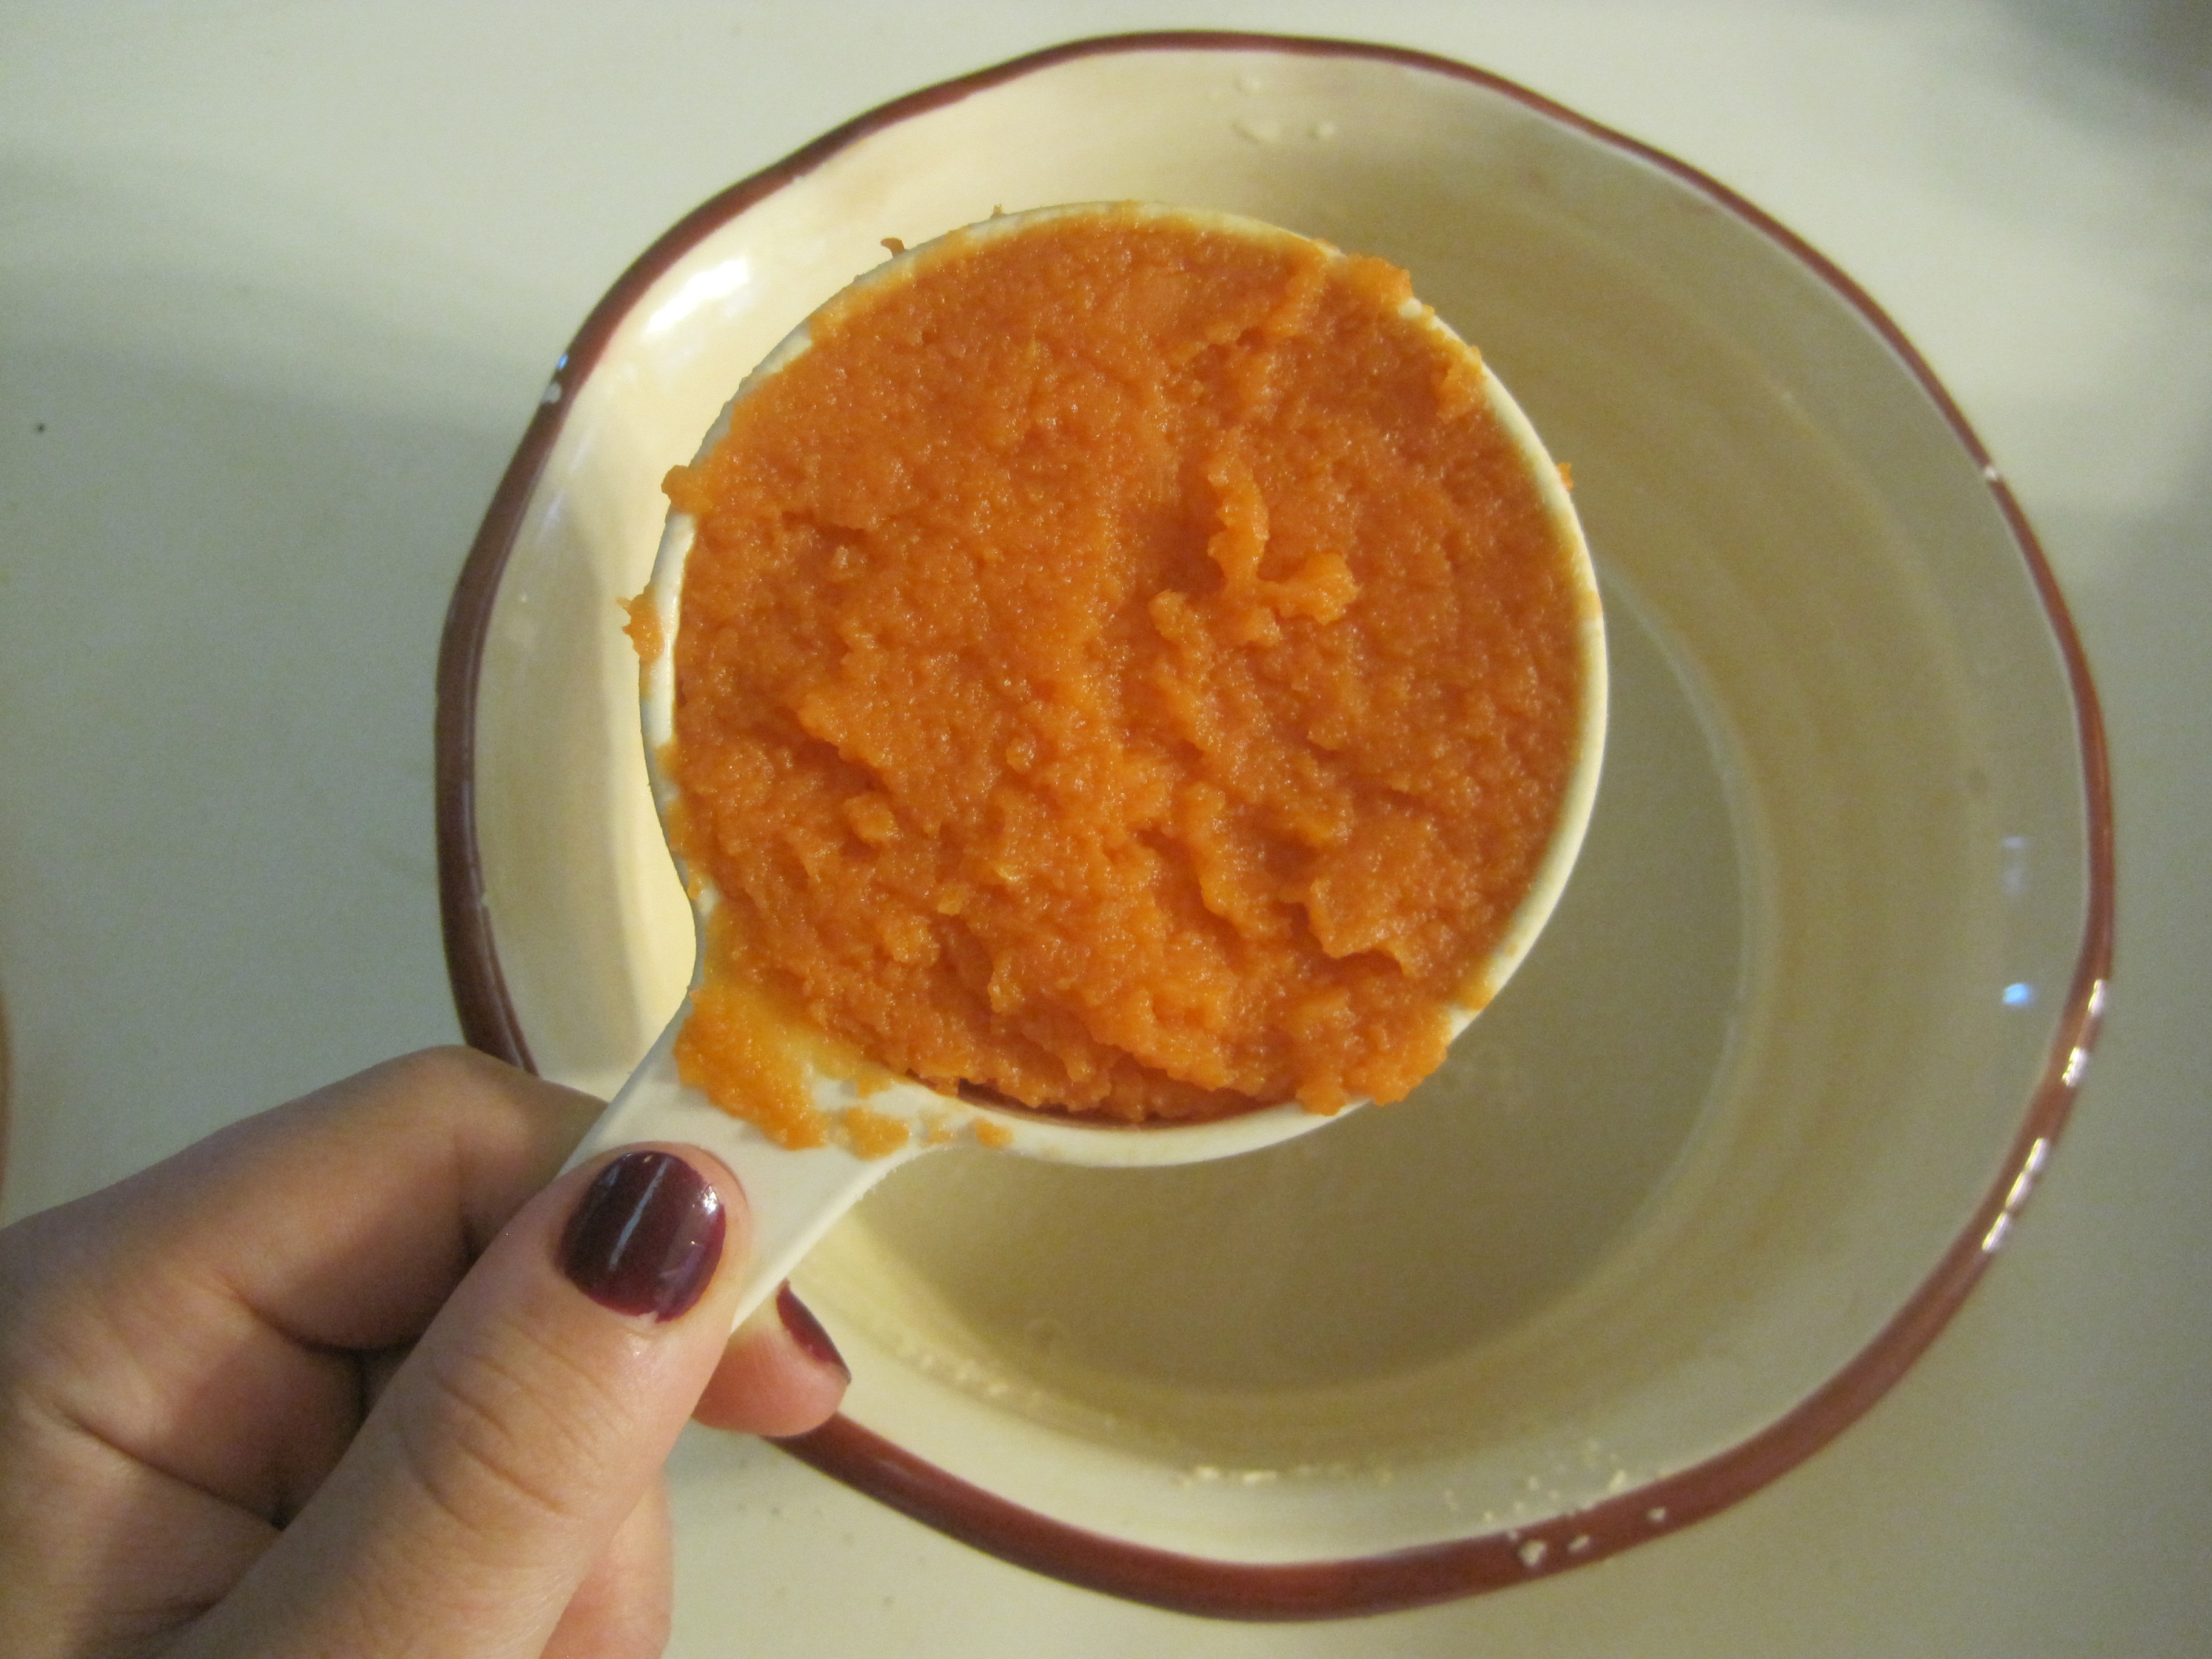
1. Pour the warm water into a medium bowl and whisk in the yeast. Let sit until frothy, about 10 minutes. Then add your agave nectar, olive oil, and pumpkin and whisk until smooth.
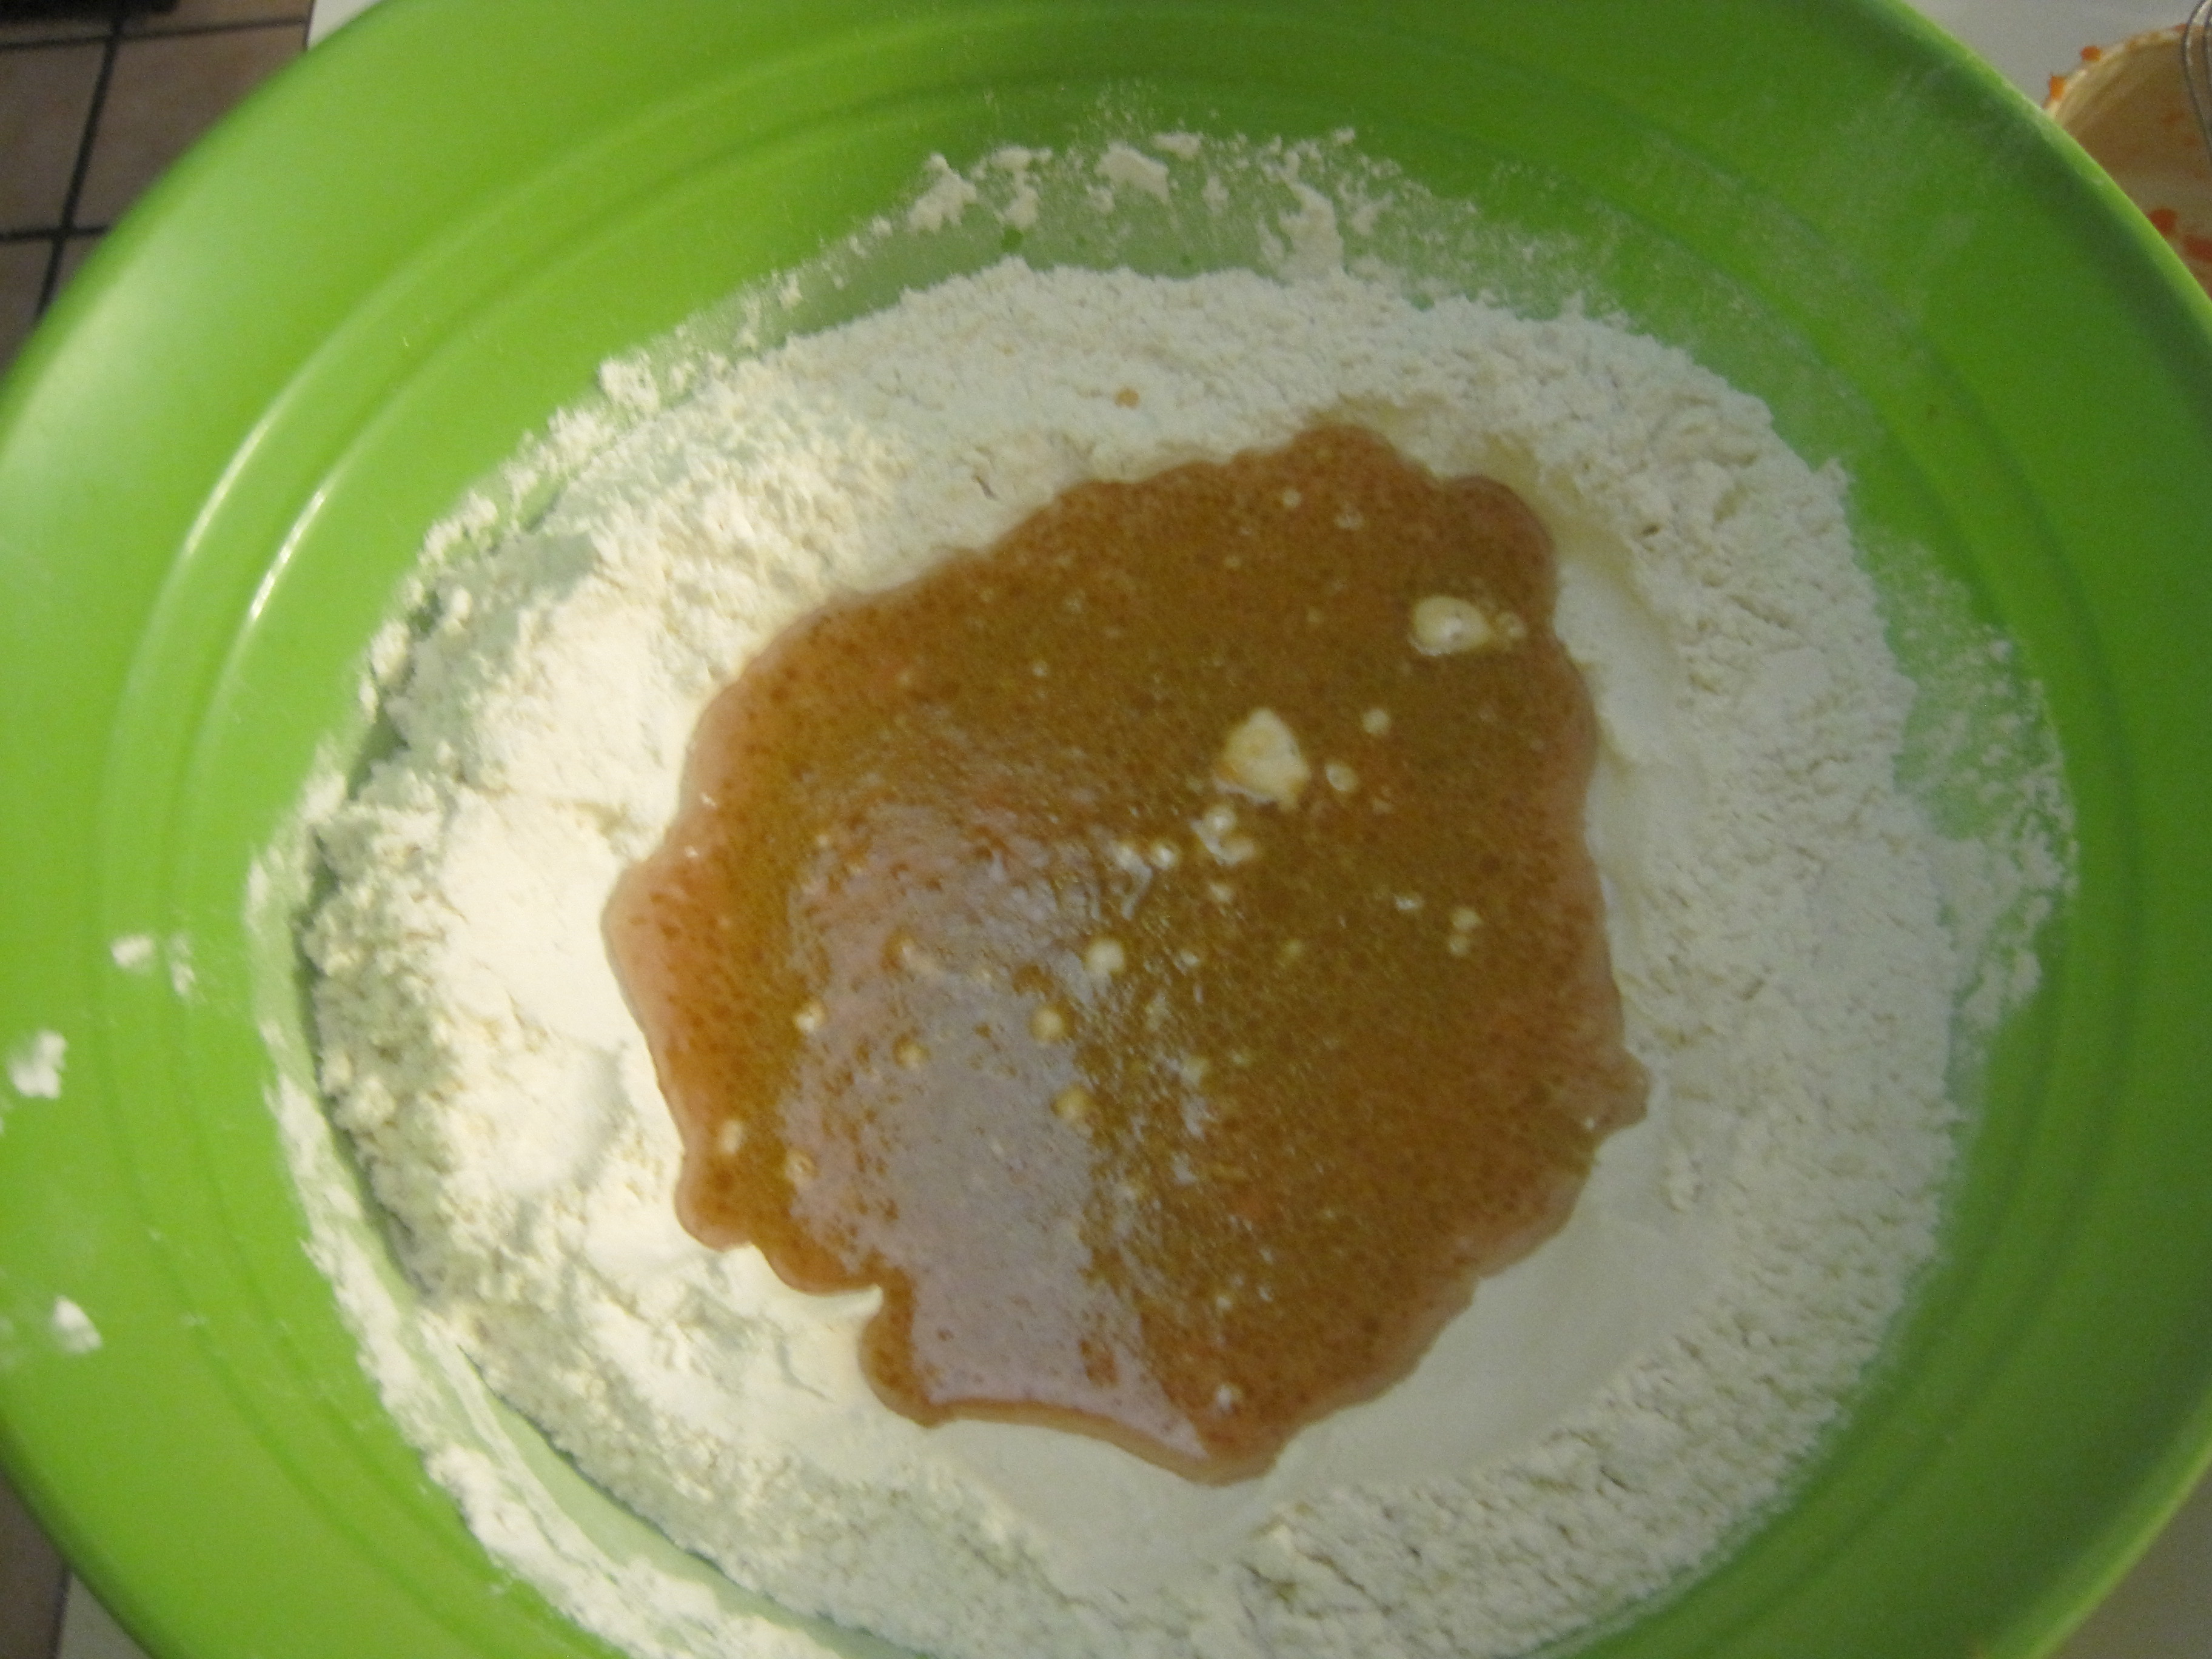
2. In a large bowl, whisk together the flour and salt. Make an impression with you fist in the center. It should be large enough to hold your wet ingredients. Pour in the wet ingredients.
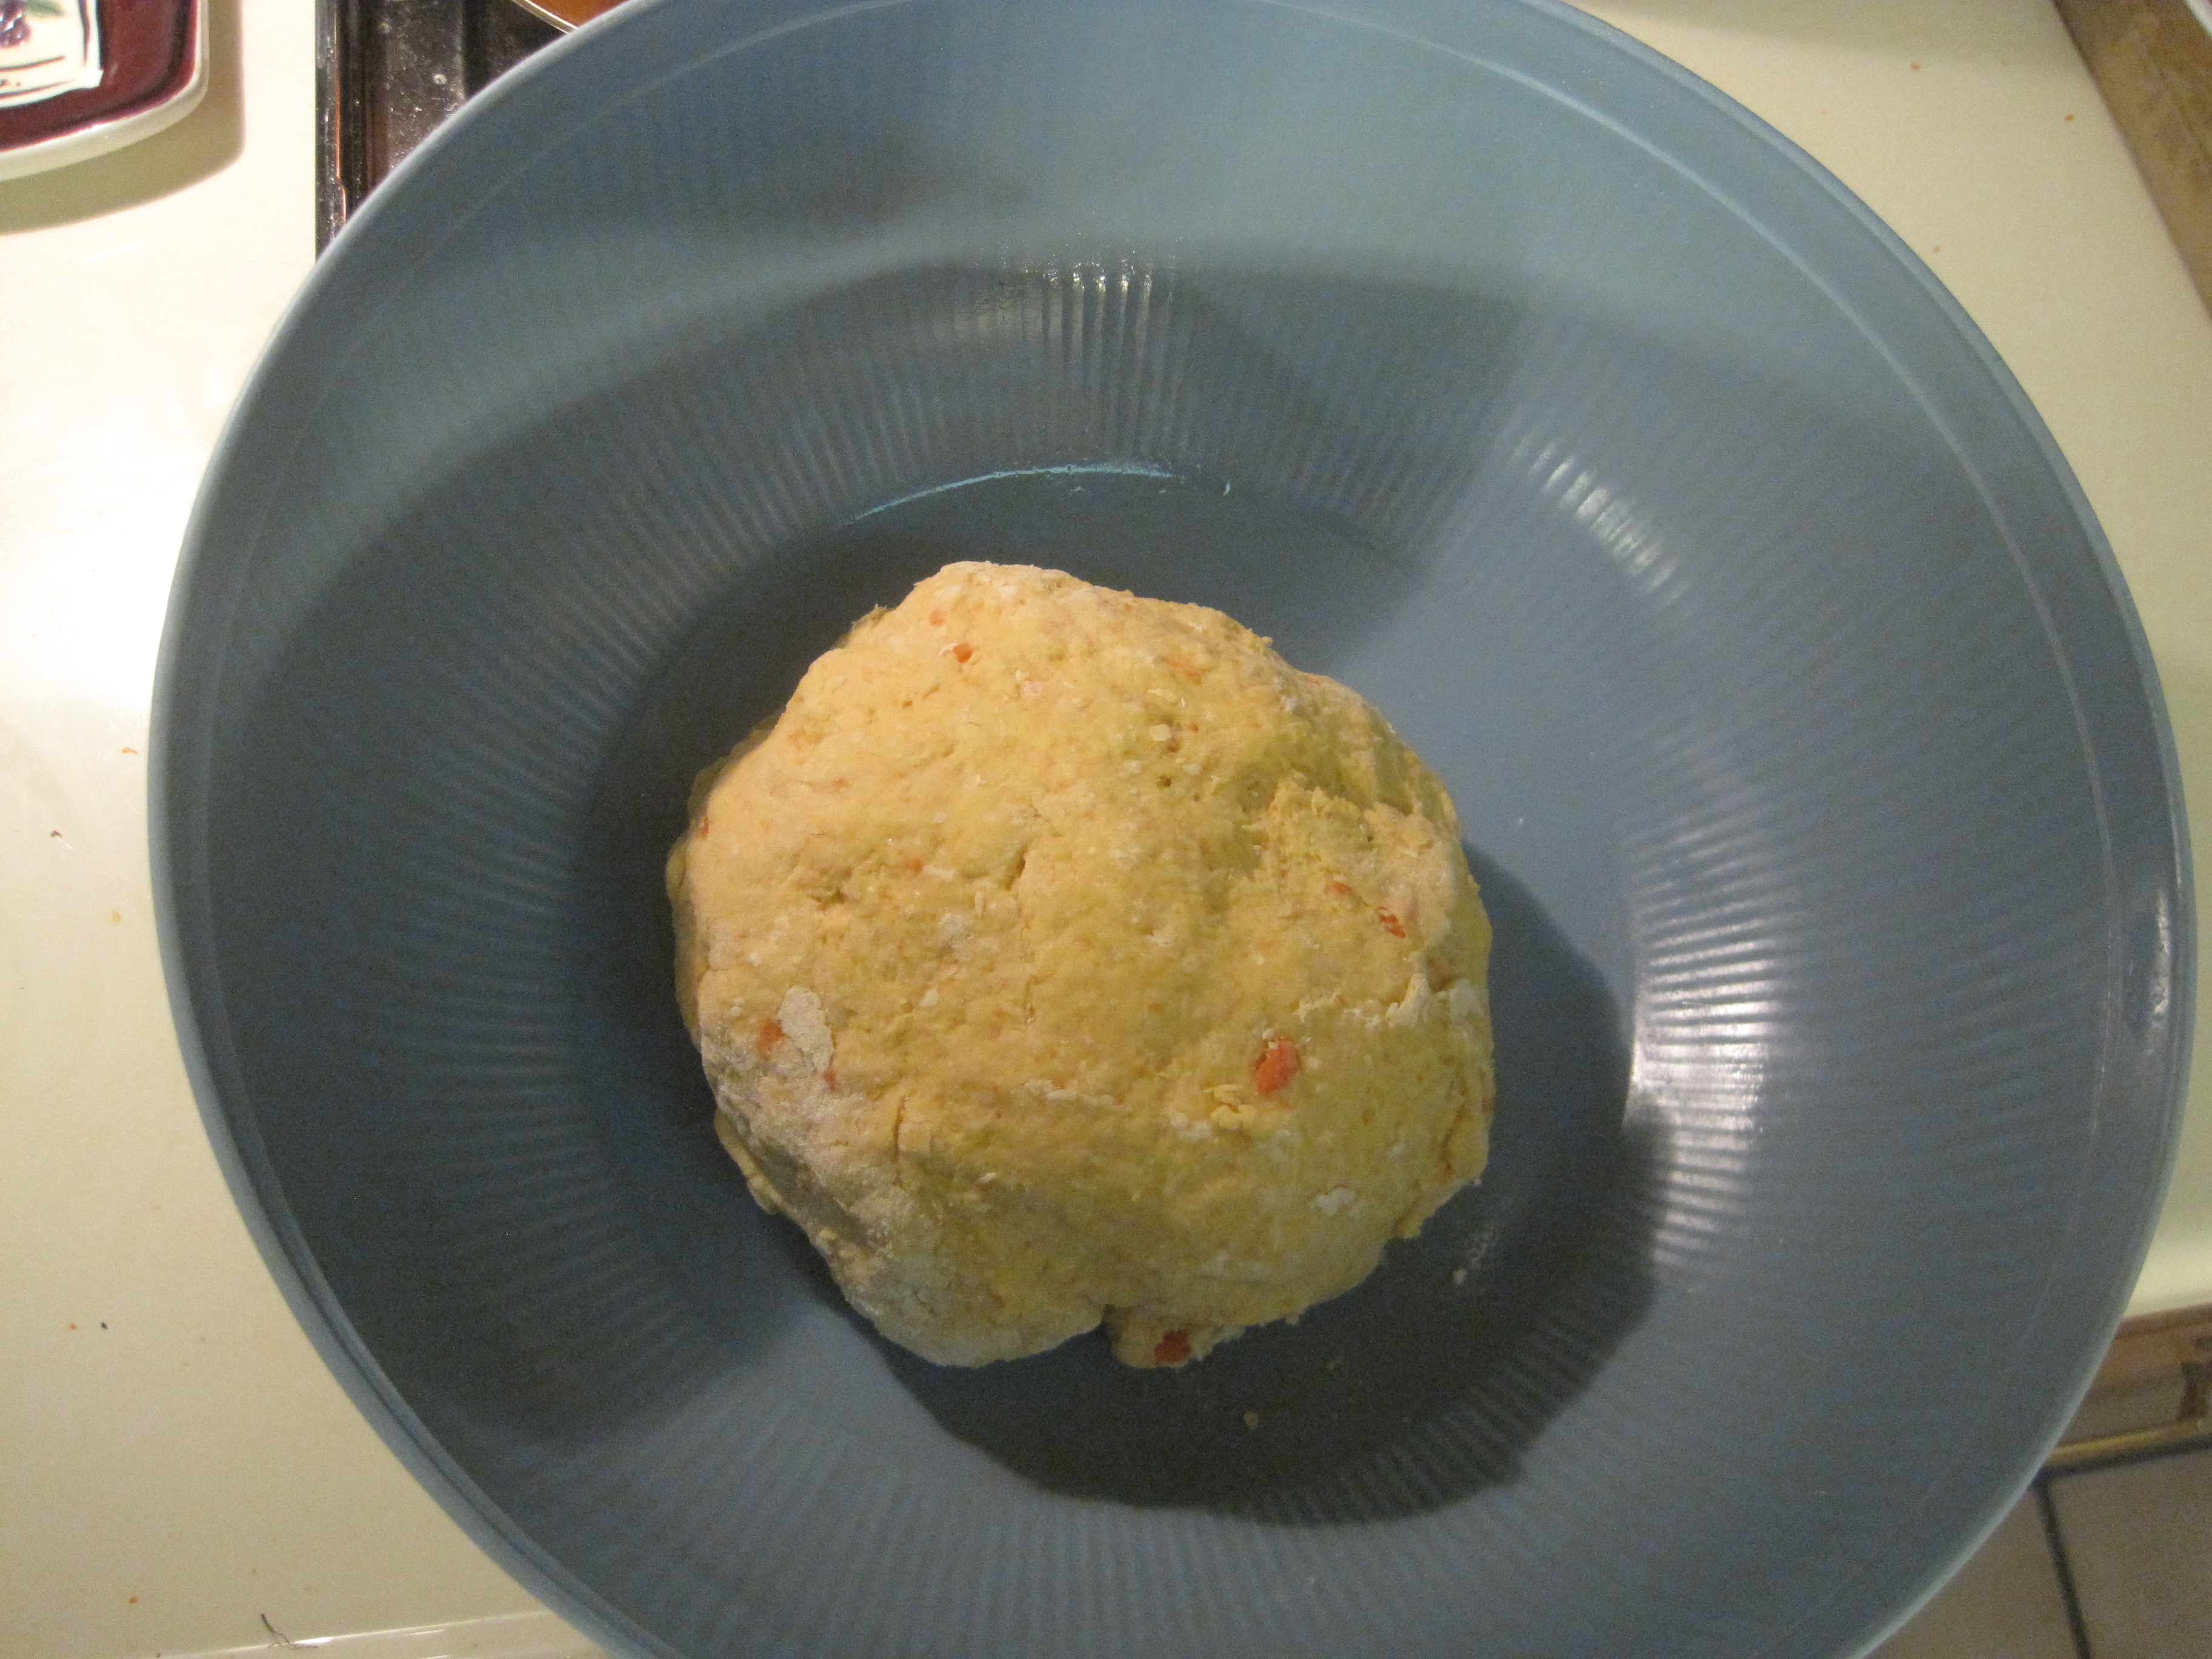
3. Start pulling everything together with a spatula. When you can no longer mix, use your hands to start kneading the dough. Keep kneading -- and adding more flour as necessary -- until you have a ball that's smooth and elastic, but not sticky. This really only took a few minutes for me, maybe 5 or so.
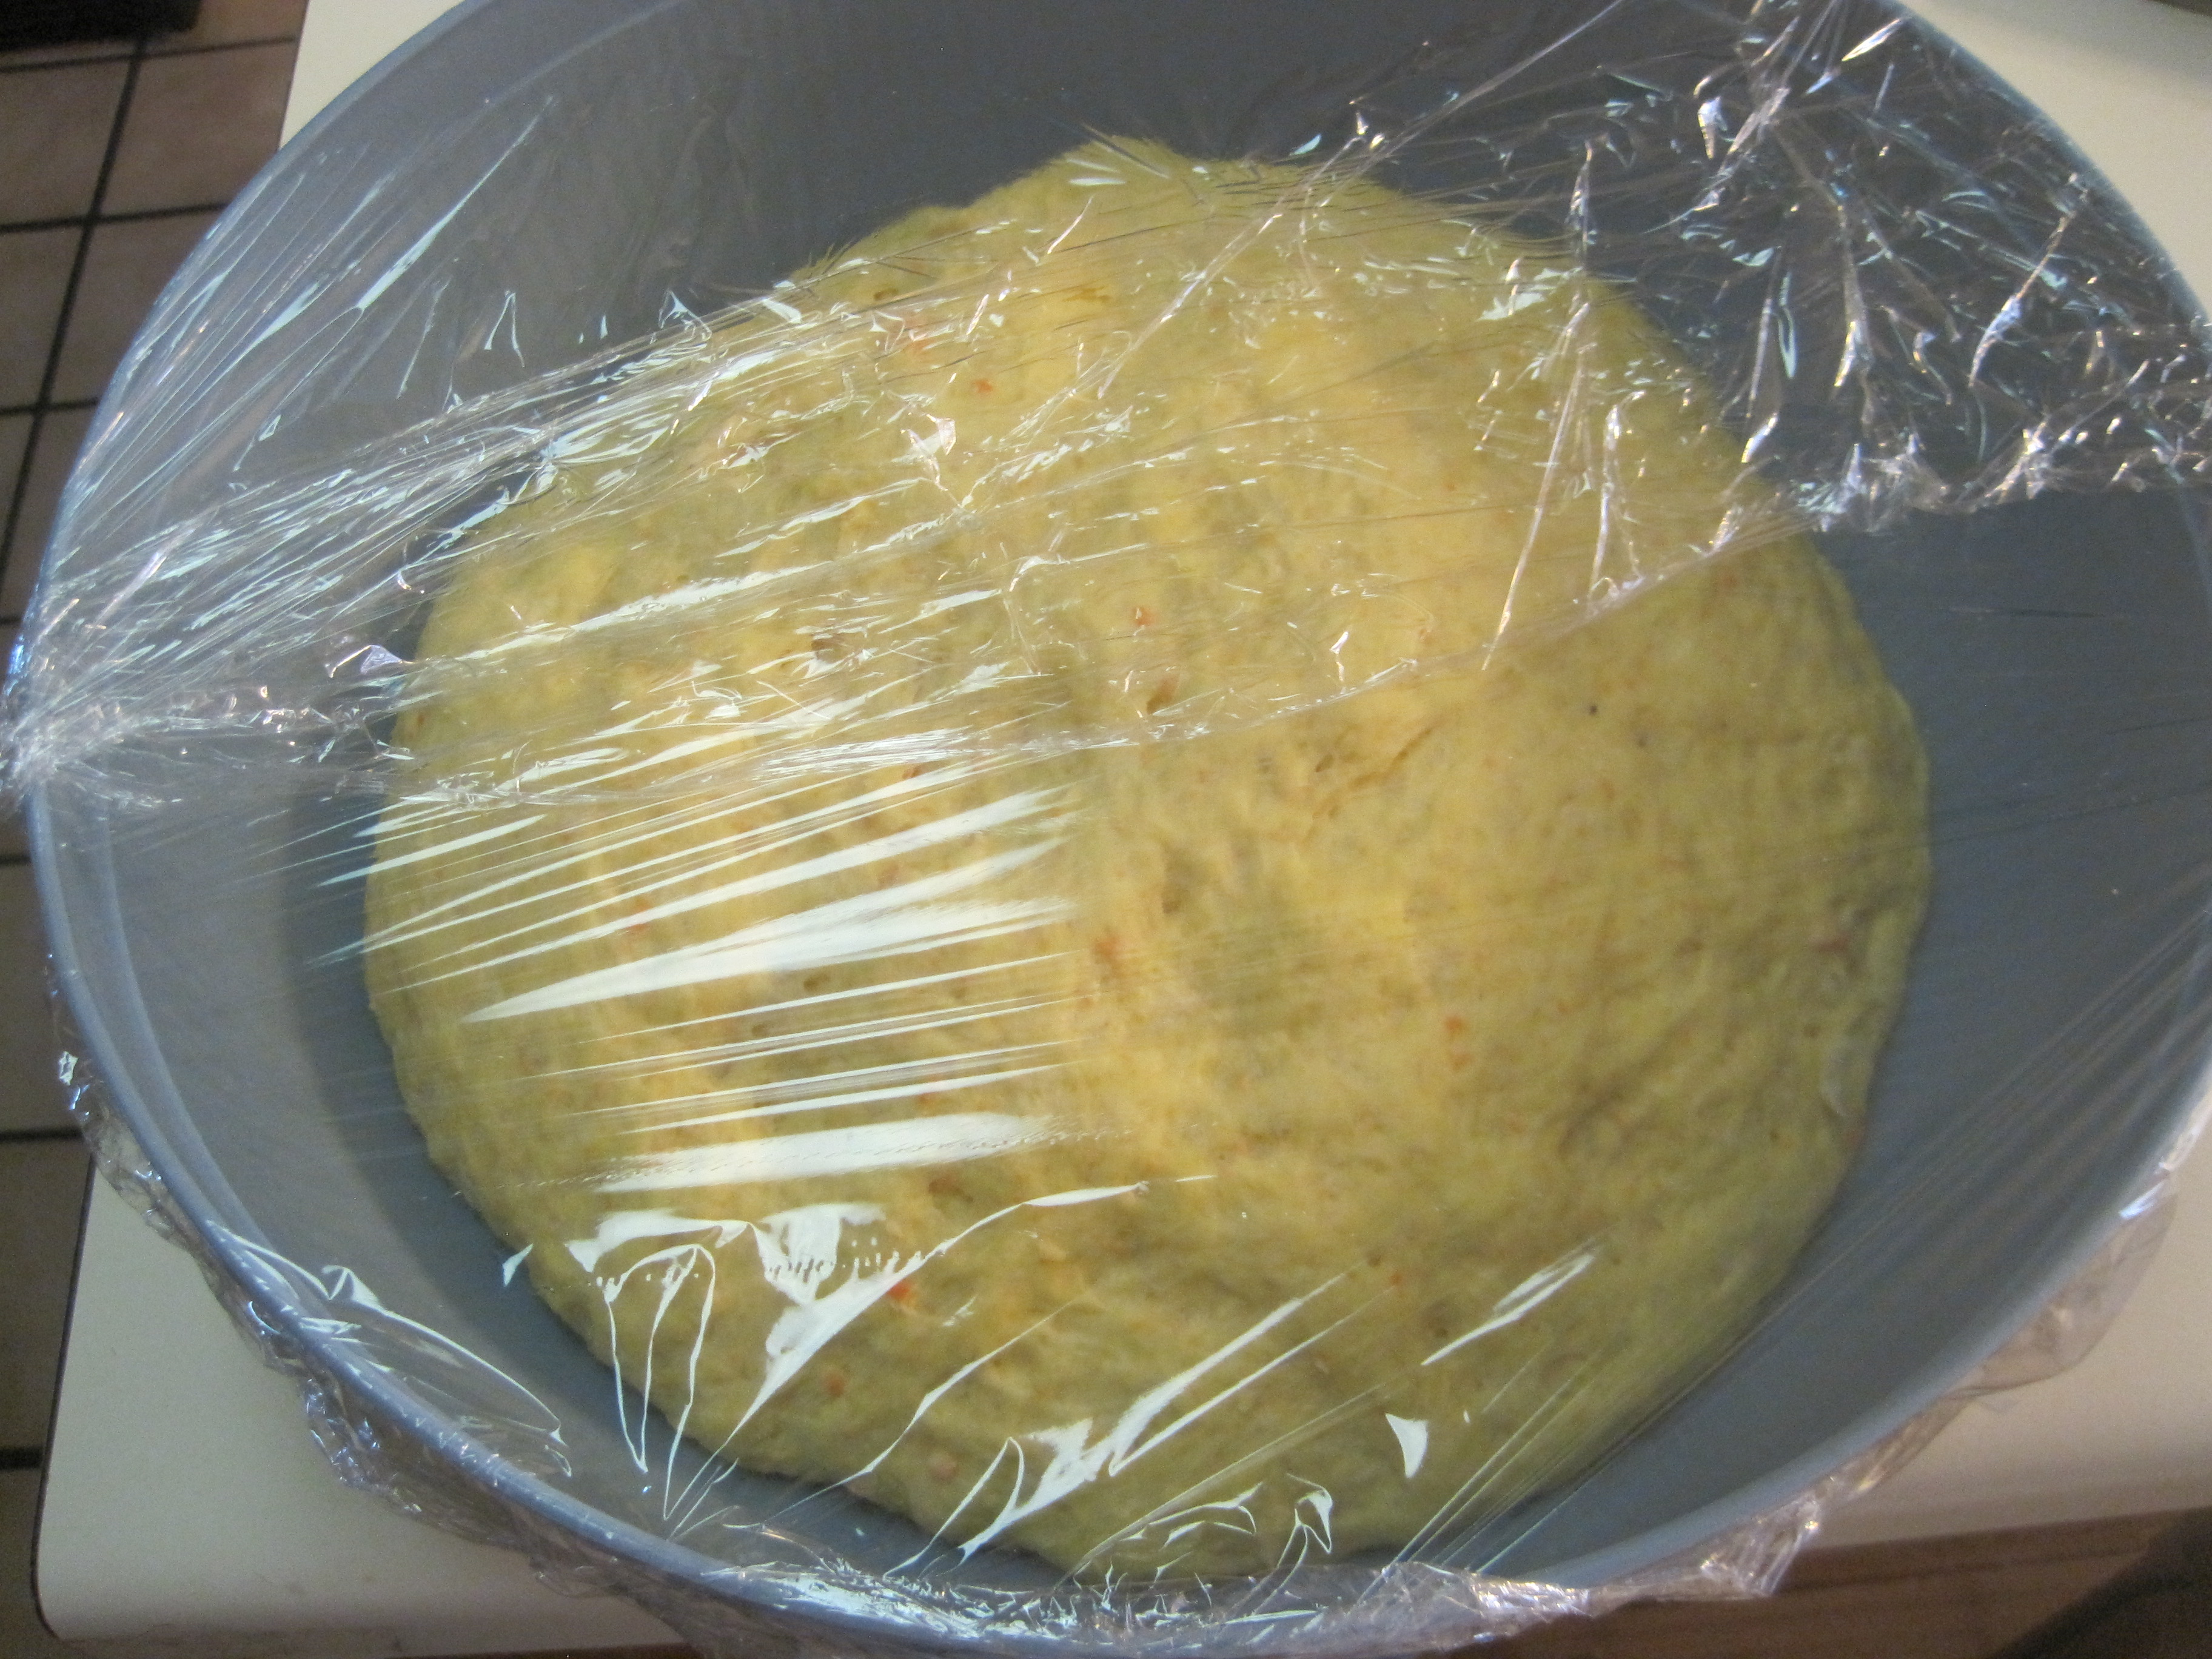
4. Lightly oil another large bowl and put your dough ball inside it -- rolling in the bowl once to coat both sides lightly with oil. Cover with a damp towel or plastic wrap and let rise for 2 hours.
5. Once the dough has risen, preheat your oven to 425 degrees F, put in a pizza stone (you may use a flipped over pan, but it works best with a stone), and divide the dough into two equal pieces. You can wrap the dough in plastic wrap to use later. If planning to use very soon, it can remain in the fridge, but you may want to place it in the freezer so that it lasts a bit longer (up to 3 weeks). Either storage method you use, make sure that you allow the dough to come to room temperature before you use it. Otherwise, it won't be very elastic.

6. To create the garlic knots -- just take off sections of dough (about the size of two tablespoons) and roll them into a snake shape. Then tie that snake in a knot (flour your hands and the snake so that it's easier to knot). Set aside and continue with the rest of the dough. Once you've made all your knots, put them on your stone (or on your pan) and let bake until golden brown on the tops, about 10 to 15 minutes, or until golden.
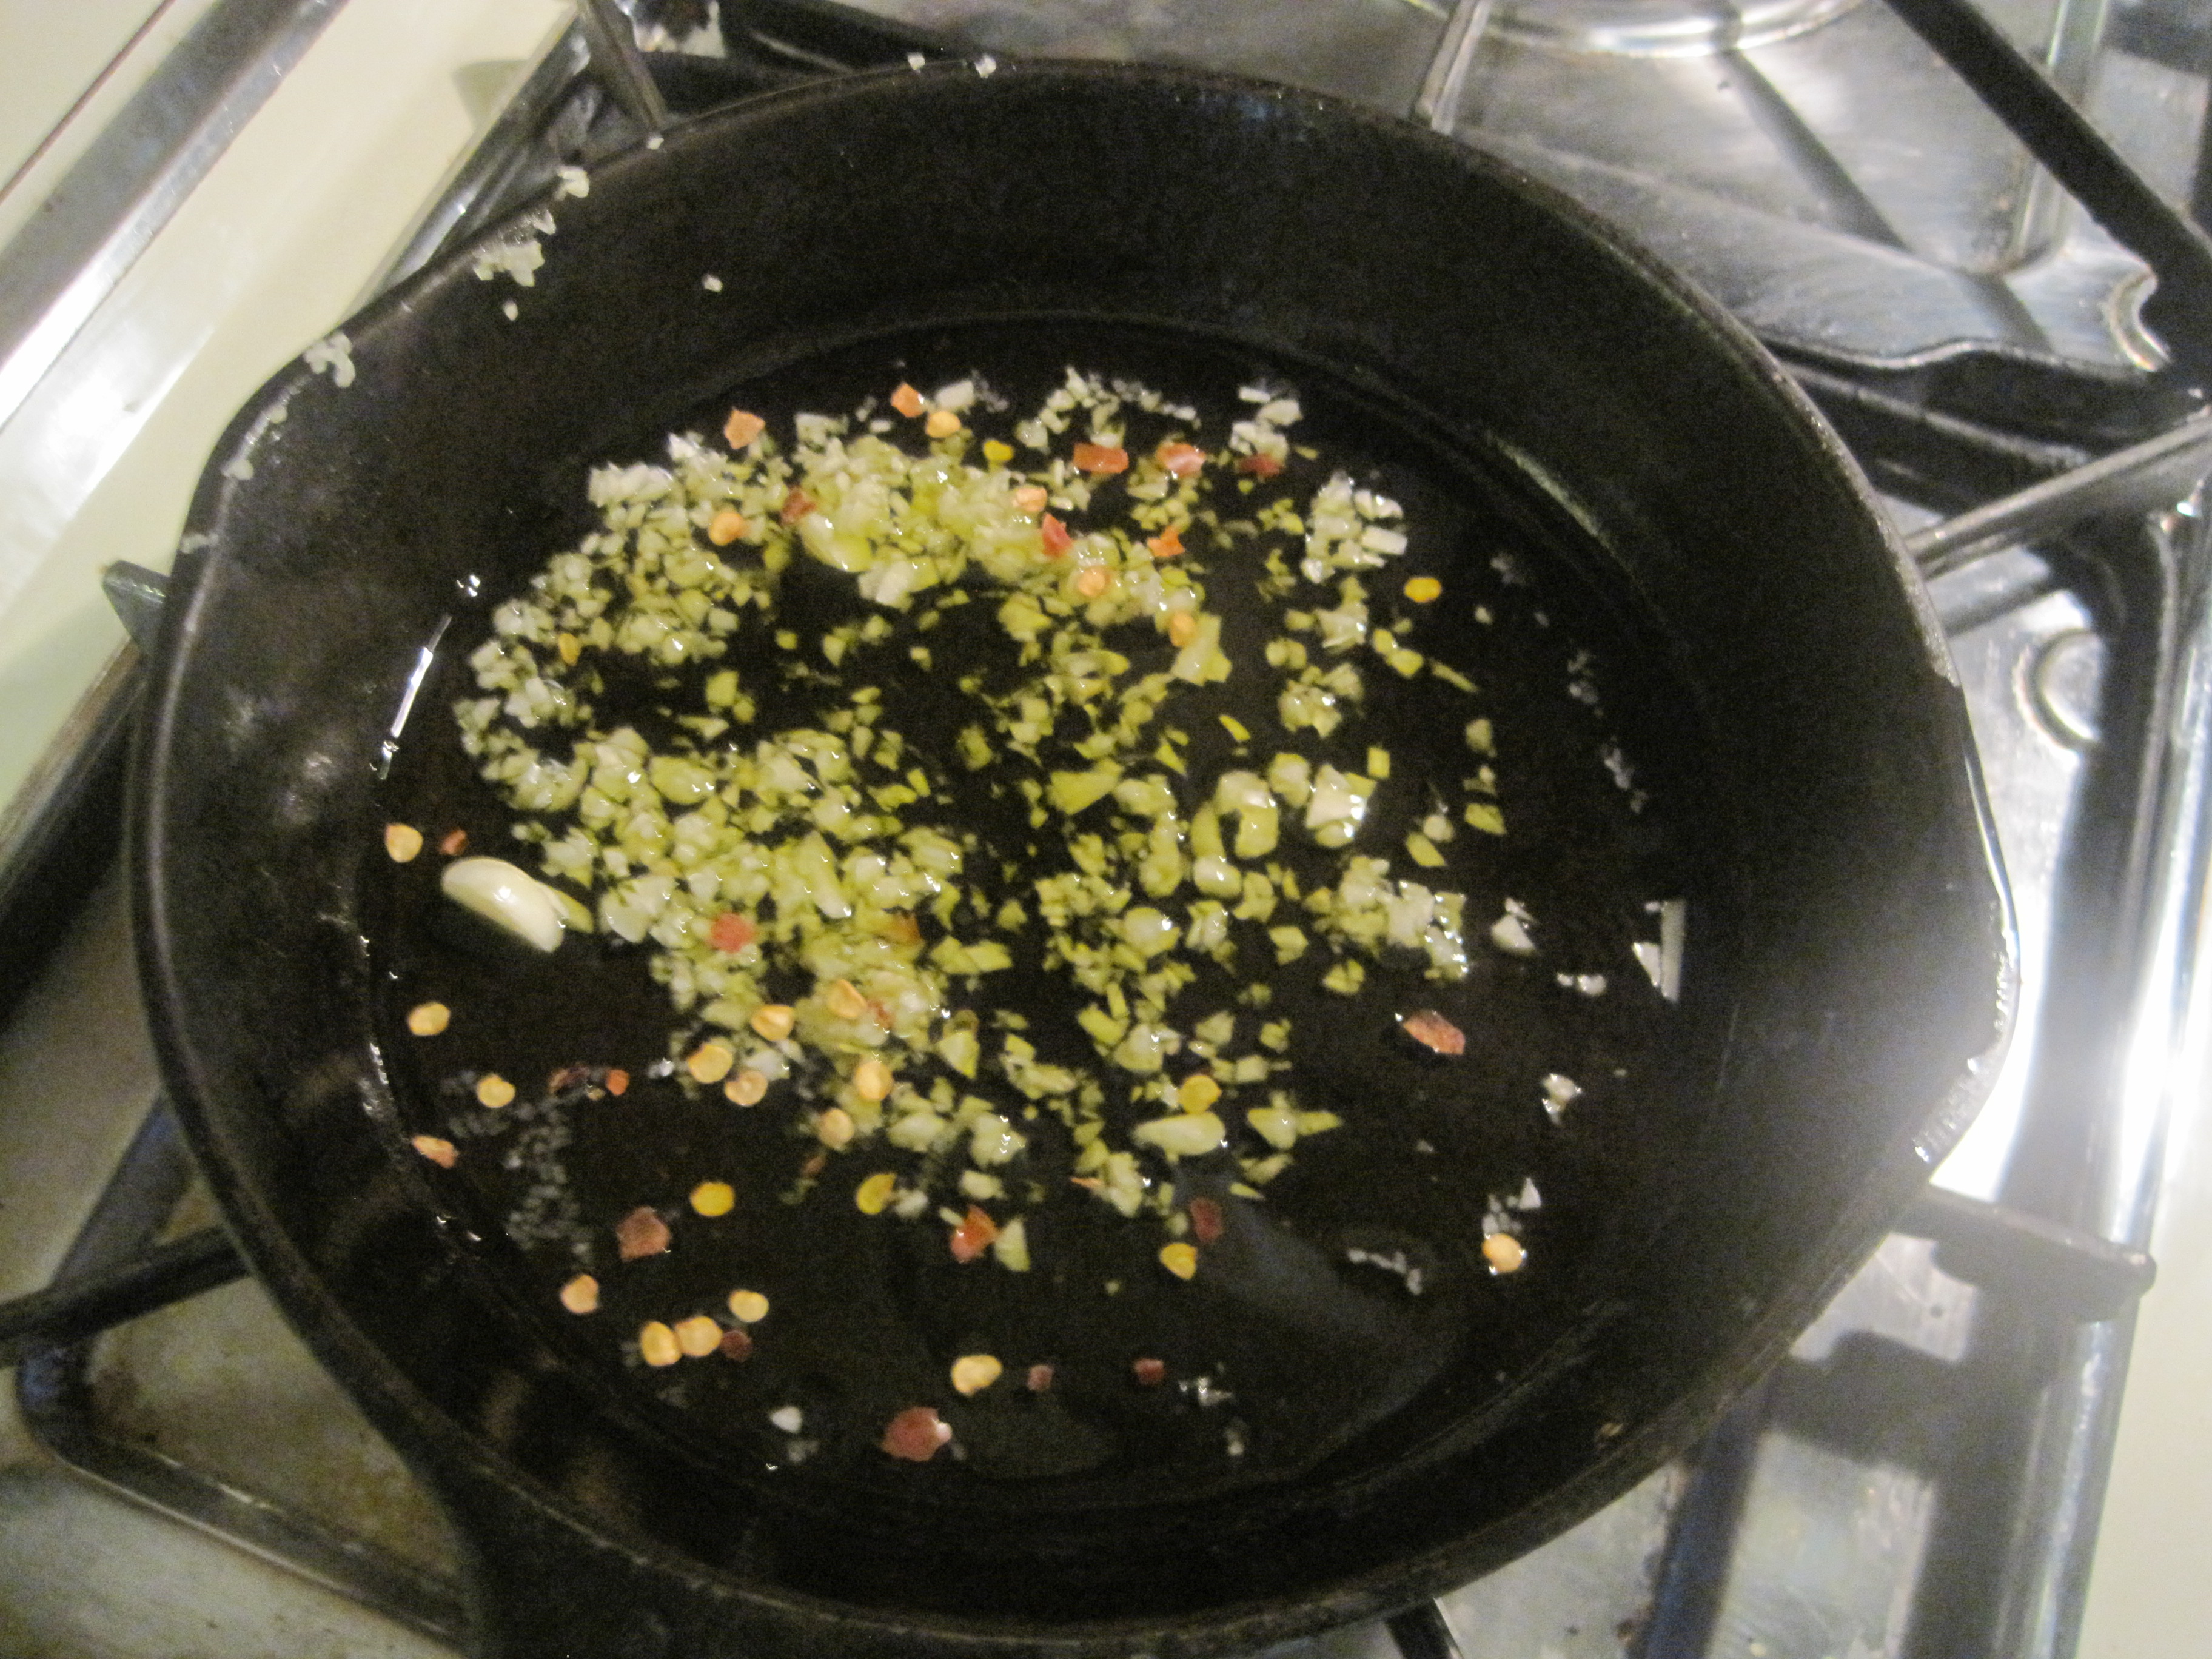
7. Meanwhile, Heat in s small skillet olive oil, garlic, salt, and pepper. Cook until fragrant. Remove from heat and pour into a large bowl. Add Parmesan or nutritional yeast, to taste. When the knots are done, dump them into the bowl and mix well to coat.
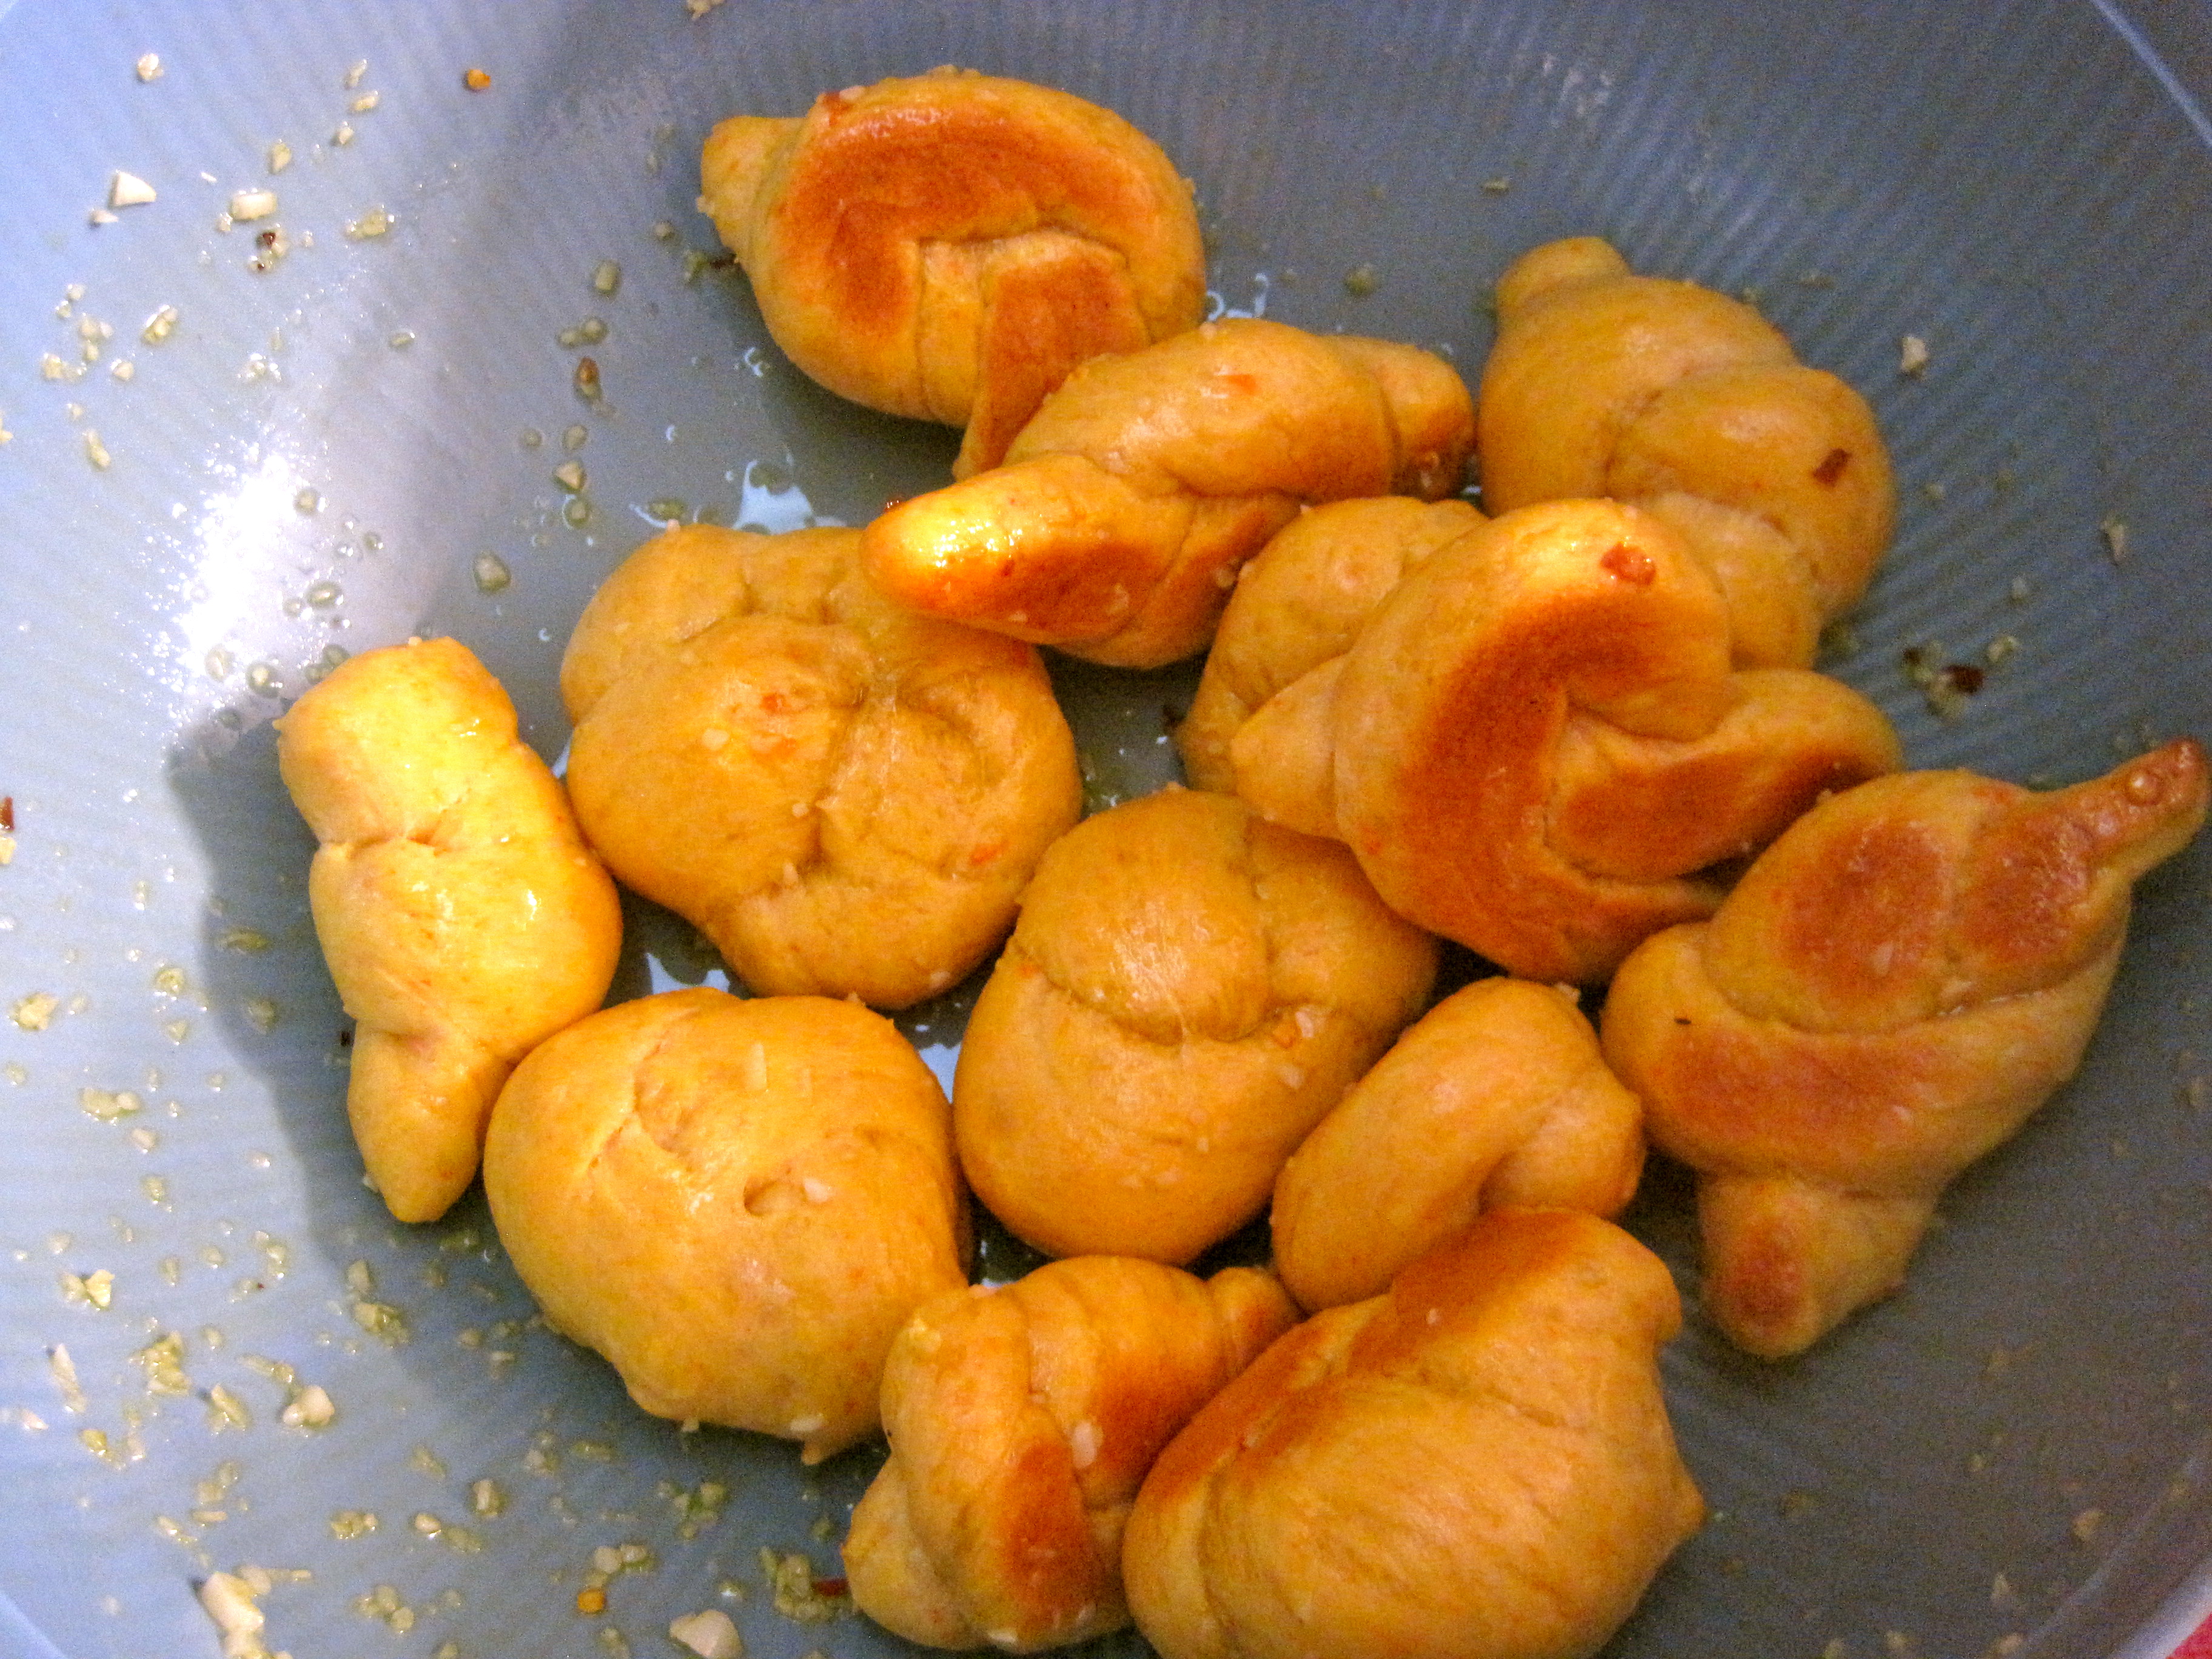
Recipe from (never)homemaker
Related Recipes
Looking for more Cooking College Chick? Follow me on Twitter or Pinterest! You can also subscribe on the upper right hand bar to receive email updates! Happy Cooking!!!
